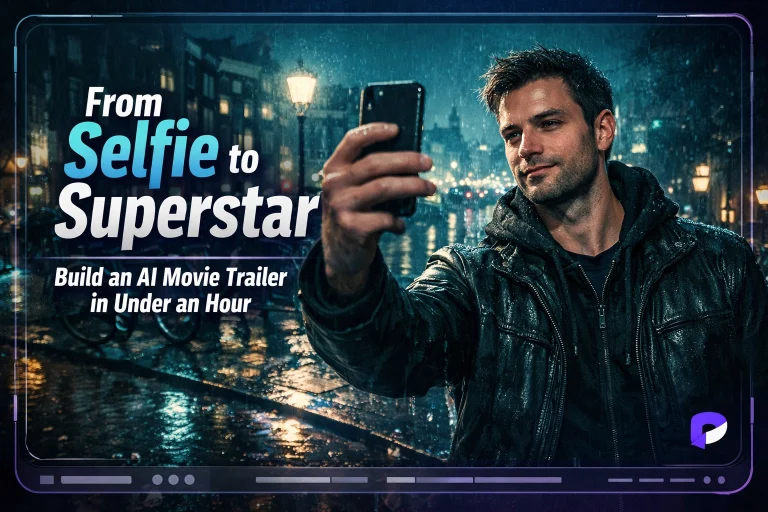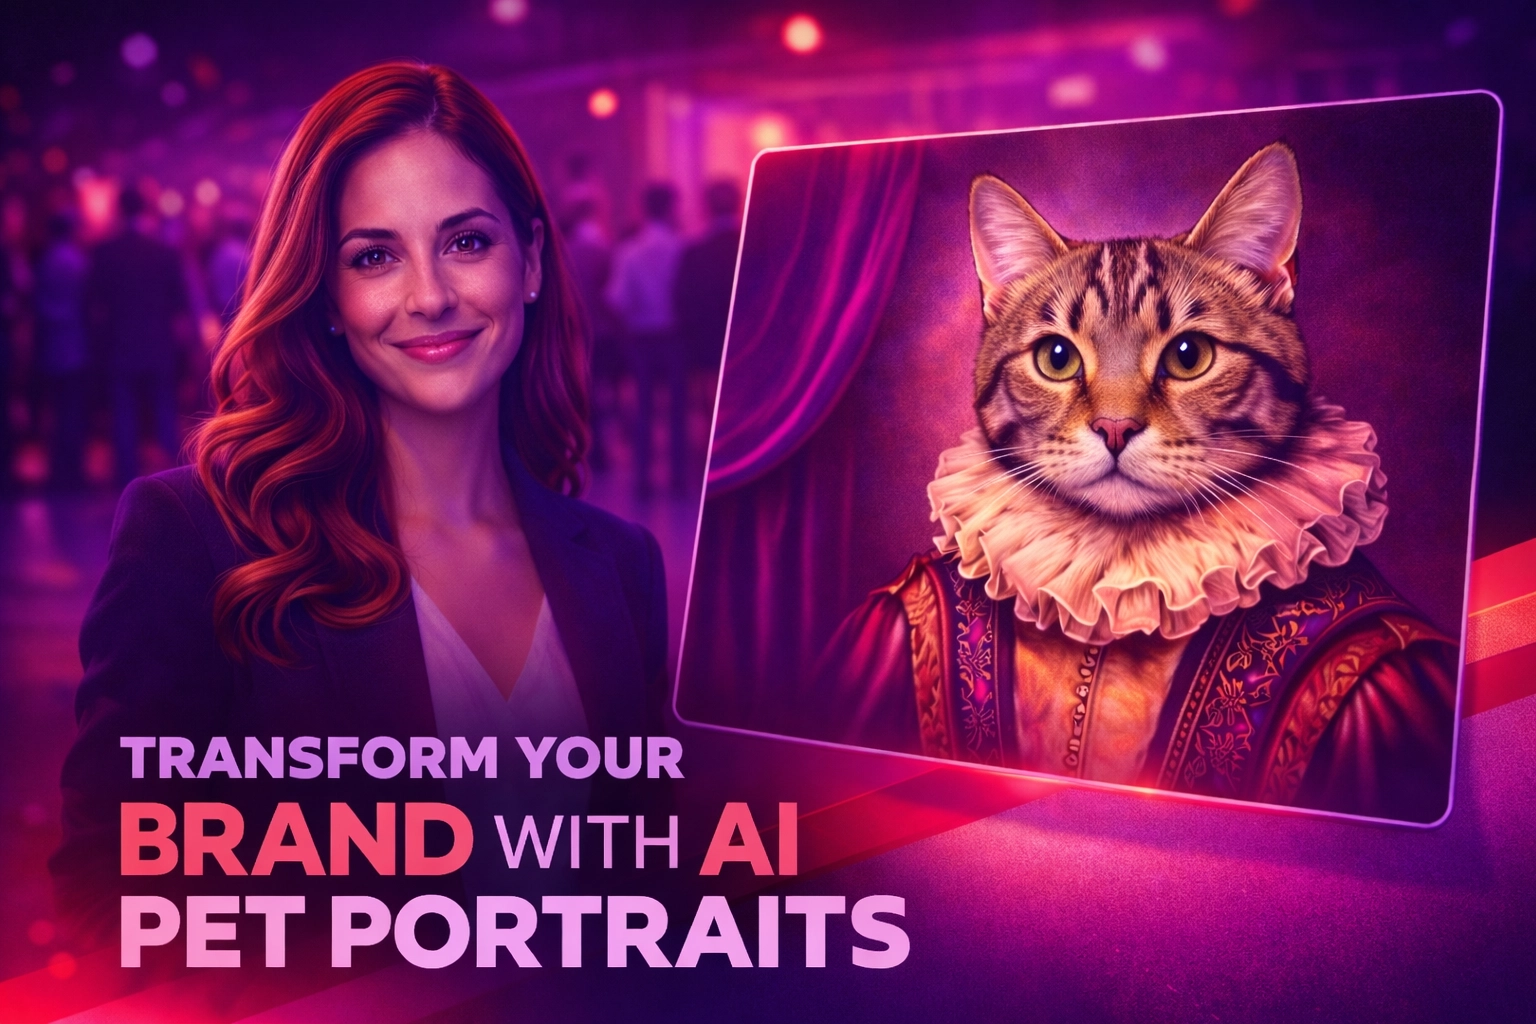
How to Build a Pet Portrait AI Experience in Pictor — Branding, Variables, and Virtual Booths
Live recap of our April 16 Show & Tell: build a fully branded AI pet portrait experience in Pictor — prompt engineering, tokenized survey variables, virtual booth setup, slideshow, and pricing for stadium-scale activations.
Eve Martin
Recap from our April 16, 2026 Show & Tell

Every Wednesday, we host a live Show & Tell where Pictor customers bring their real projects, ask questions, and build alongside us in real time. This week’s session was a special request from Louis, Kebra, and Kalai from PICKC — they wanted to see a pet portrait experience built from scratch. We used Purina as our fictional client, built the whole thing live, and ended up with a fully branded, virtual-ready AI experience that works for any pet at any event.
Here’s everything we cover by step.
Starting With a Prompt: Pet Portraits That Actually Look Like the Pet
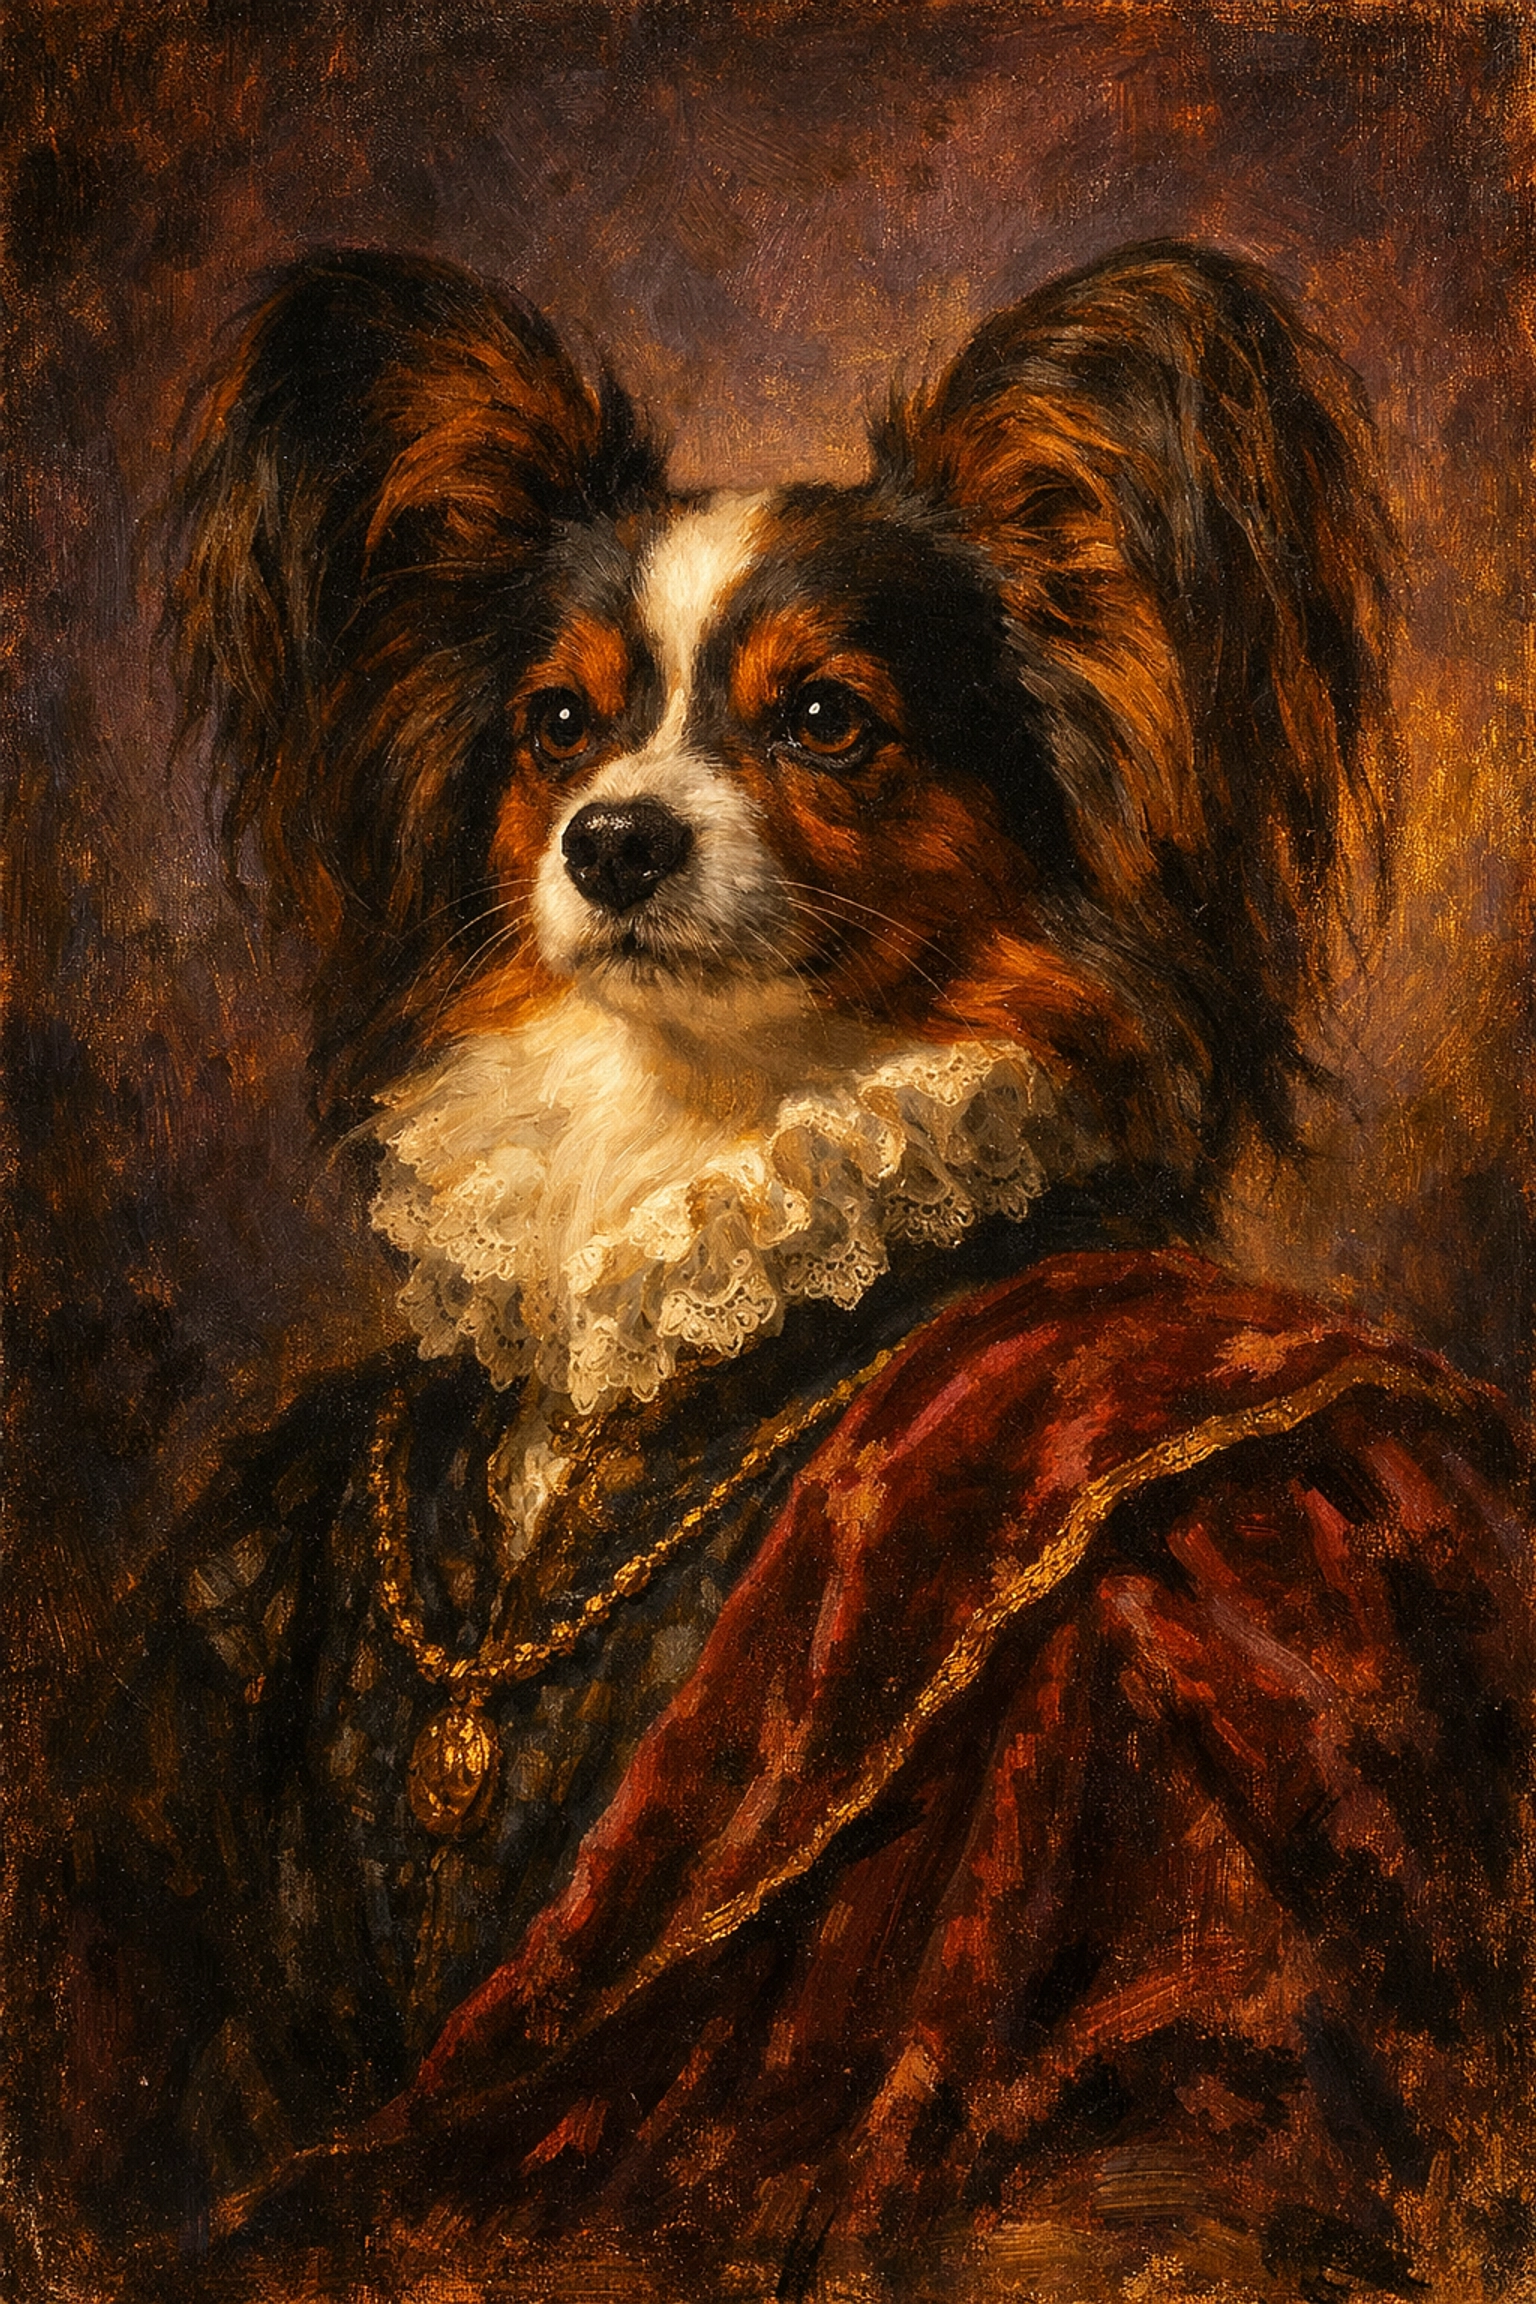
Before we jumped into Pictor, we drafted an AI prompt using Perplexity — it’s our go-to for iterating on prompts quickly without leaving the browser. We used voice dictation via Wispr Flow to describe what we wanted:
“I want to upload a photo of a pet — in this case, a dog — and have it look like a Renaissance painting with beautiful brush strokes. It should be very painterly, not perfect, and must look like the dog in the photo. I want the painting edge to edge with no frame.”
A few things worth noting in that prompt:
“Edge to edge, no frame.” Renaissance painting prompts almost always produce a painting inside an ornate gold frame. It looks beautiful, but if you’re building toward multiple output types, frameless gives you more flexibility in the template editor later.
“Very painterly, not perfect.” This tells the AI to lean into the impressionistic quality rather than generating a photorealistic dog with painted textures on top. The difference is subtle in the prompt but significant in the output.
We uploaded a photo of Ruthie — our very zen, very big-eared office dog — and ran the first test. The result was a solid start. The ears weren’t quite right (they’re Ruthie’s most distinctive feature), so we adjusted the crop on the upload to go a little wider and ran it again. Second pass looked much more like her.
Pro tip: If a pet’s most distinctive feature isn’t being captured, go back to the photo before you go back to the prompt. Crop selection and photo quality matter as much as prompt language.
Building the Event
Once we had a working prompt, we moved into Pictor and created a new event called Pet Portrait. Here’s how we branded it to match our pretend client, Purina.
Global Settings: Match the Client’s Brand
Purina’s brand is built on whites and reds. Here’s what we changed in Global Settings:
- Background: White, 100% alpha
- Modal background color: Set alpha to zero (transparent)
- Modal overlay color: Pulled Purina’s red hex code directly from their website using a color picker browser extension, set to 50% opacity
- Modal corner radius: Reduced from 24 to 6 — square but not harsh
- Primary button: Black with white text
- Secondary button: White with red text
That red can read like an error state if it’s too saturated, so the 50% opacity on the modal overlay keeps it on-brand without alarming anyone. Small thing, big difference in how professional the experience feels.
Adding a Survey: Capture the Pet’s Name
One of the first things we added was a survey question to capture the pet’s name — so we can display it on the output overlay later.
- Question: “What’s your pet’s name?”
- Input type: Text
- Character limit: 20 (we later reduced this to 15 so the name could be displayed at a larger font size in the template)
- Required: Off (so testing doesn’t slow you down)
We also set the text layer in the template to uppercase so it doesn’t matter how someone types their pet’s name — it will always be consistent in the final output.
Template Editor: Building the Output
We created a square (1:1) template and uploaded a Purina brand image as the background. Then we added:
- Pet name text layer in Purina red, using a Google Font that matched the brand’s feel, sized to fit 15 characters
- Tagline layers: “HOW [PET NAME]” and “ACHIEVES GREATNESS” split across two lines, left-aligned
- Slight transparency (90%) on the text overlay background — so if there’s something interesting behind it, you don’t lose it
The AI image layer went at the bottom of the stack so the branded text floats on top of the portrait. We hid the original uploaded photo — guests only see the AI output.
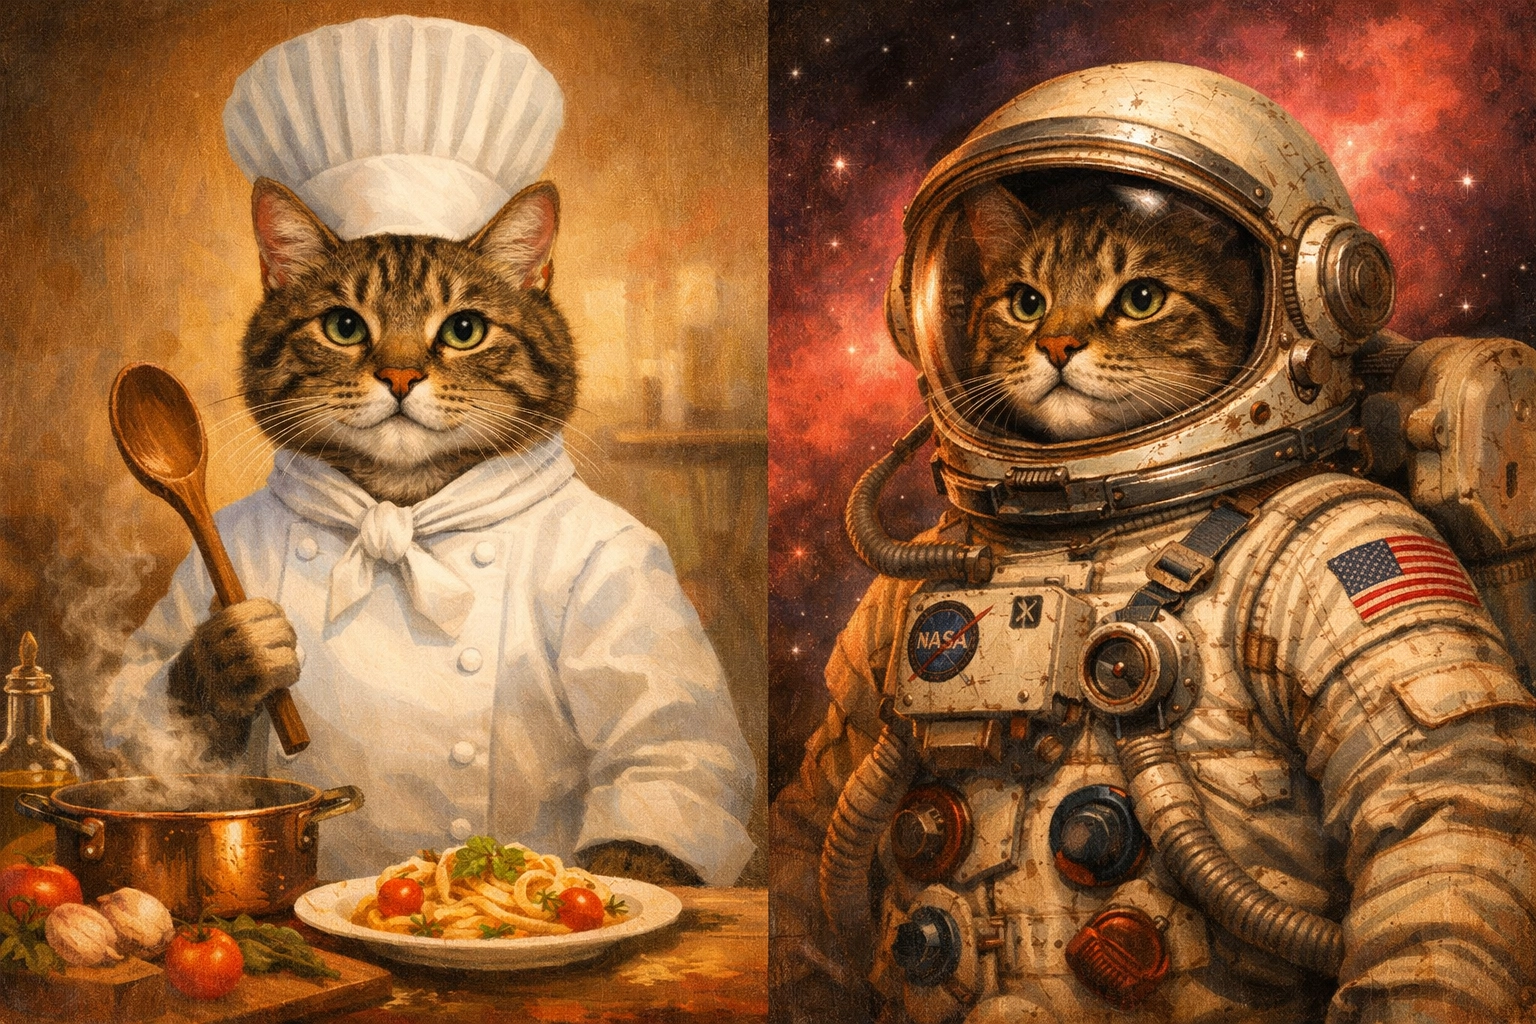
Adding Variables to the Prompt: Pet Type, Style, and Profession
Here’s where it gets interesting. Instead of locking people into one aesthetic, we built a dynamic prompt that lets guests choose their experience using survey questions.
The prompt we built used three variables:
- Pet type (dog, cat, bird, rabbit, horse, alpaca…)
- Artistic style (Renaissance oil painting, vintage comic book, etc.)
- Profession (chef, race car driver, veterinarian, astronaut…)
Tying it back to the Purina tagline “How Your Animal Achieves Greatness” — guests pick a profession and the AI puts their pet in that career.
How Survey Tokenization Works
When you create survey questions inside a custom AI prompt, each answer gets assigned an answer token (answer1, answer2, answer3). You then find every place in your prompt where that variable should appear and replace it.
For example, instead of writing “a dog” in the prompt, you write answer1. Instead of writing “Renaissance oil painting,” you write answer2. The system swaps them in at generation time with whatever the guest selected.
Token vs. Title: Each survey option can have a short guest-facing label and a full prompt-injected value. So a guest sees “Oil Painting” as their choice, but the prompt receives “classic Renaissance oil painting with rich, warm tones and visible brushwork.” This is how you give people a simple choice while still giving the AI a detailed instruction.
We also set default tokens for each variable — so if someone skips the survey, the prompt still has something to work with.
Don’t Forget to Reassign the Prompt After Editing
This one catches people every time: once your event is live, Pictor freezes the prompts in your event. If you go back and edit a prompt (say, to add “alpaca” as a pet type option), you have to go back into your event’s template, click into the capture layer, and manually reassign that prompt. This is intentional — so a change you’re testing doesn’t break a live event someone is actively using.
Virtual Booth Setup
For a pet portrait experience, the virtual booth is essential — most events where this makes sense aren’t going to have guests physically bringing their pets to a booth. Instead, guests scan a QR code with their phones and upload a photo from home or their camera roll.
To enable it:
- Go to Outputs → Virtual Booth
- Turn on Upload Enabled
- That’s it — all the branding you set in Global Settings carries over automatically
We previewed the virtual booth live on the call. With no extra edits, it already had the Purina logo, white background, and red accent from the global settings we’d applied earlier. It resizes to fit any screen, and it works on iOS and Android in both Safari and Chrome.
On QR codes: The QR code Pictor generates is great for internal testing. For live events, we strongly recommend using a third-party tool like qr-code-generator.com to generate a QR code that points to your event URL — one where you can change the destination endpoint if anything goes wrong. A native Pictor QR code is a direct link; if you need to switch URLs mid-event, you’d have to print new codes.
Slideshow: Showing Real-Time Results at the Event
While guests are submitting their pet portraits remotely, you can run Pictor’s slideshow on a screen at the venue to display results in real time. We set it up like this:
- Header image: Purina “How Your Pet Achieves Greatness” graphic
- Background: White
- Static image grid: Set to 2–3 columns for horizontal display, or switch to vertical for portrait screens
- Full-screen interstitials: We added a Purina ad as a full-screen takeover that cycles through between pet portraits
The slideshow automatically adapts to whatever screen orientation you’re running. Switch from horizontal to vertical in the settings, refresh, and it reflows instantly.
A note on simulator vs. virtual booth: If you use the in-app simulator to test your experience, your outputs will appear in your Sessions and internal render queue — but they will not show up in the public slideshow or gallery. Only submissions from the actual virtual booth (or physical booth) flow into the slideshow. Keep this in mind when testing so you don’t wonder why nothing’s showing up on screen.
Hiding Templates Without Deleting Them
We added video output at the end of the session — and to do it cleanly without rebuilding anything, we duplicated the existing template and toggled the layer visibility:
- Turned off: AI still image layer
- Turned on: AI video layer (five seconds, with a prompt instructing the subject to maintain eye contact with the viewer)
We left the original still template intact — just hidden in the flow — rather than deleting it. This is intentional: you can hide templates in your event without removing them. It’s the answer to the “final_final_v3_FINAL” problem. If a client hated something, you turned it off. Three weeks later when they want it back, it’s still there.

On AI video and likeness: Video in Pictor is generated frame by frame from the previous frame. If the subject turns or changes expression mid-video, the AI has to guess what they look like from a new angle — and it gets it wrong. Adding “the subject maintains eye contact with the viewer at all times” to your video prompt keeps the face anchored and consistent throughout the clip.
Folders: Branching the Guest Experience
One question came up on the call: “What does the ‘Create Folder’ option do in the Choose Experience step?”
Folders let you add a decision point before guests choose their template. Instead of seeing all your AI experiences at once, guests first pick a category — and then see only the experiences inside that folder.
The example we built on the fly: “Are you a normal person, or do you own alpacas?” Each folder leads to a different set of branded experiences.
The more practical version: at a large corporate event, you might have three different sponsor experiences. Each sponsor gets their own folder. Guests see the sponsor options first, pick theirs, and then choose from that sponsor’s AI experiences. Folders can be branded independently — different colors, logos, and thumbnails for each.
Pricing Virtual Experiences for Large Venues
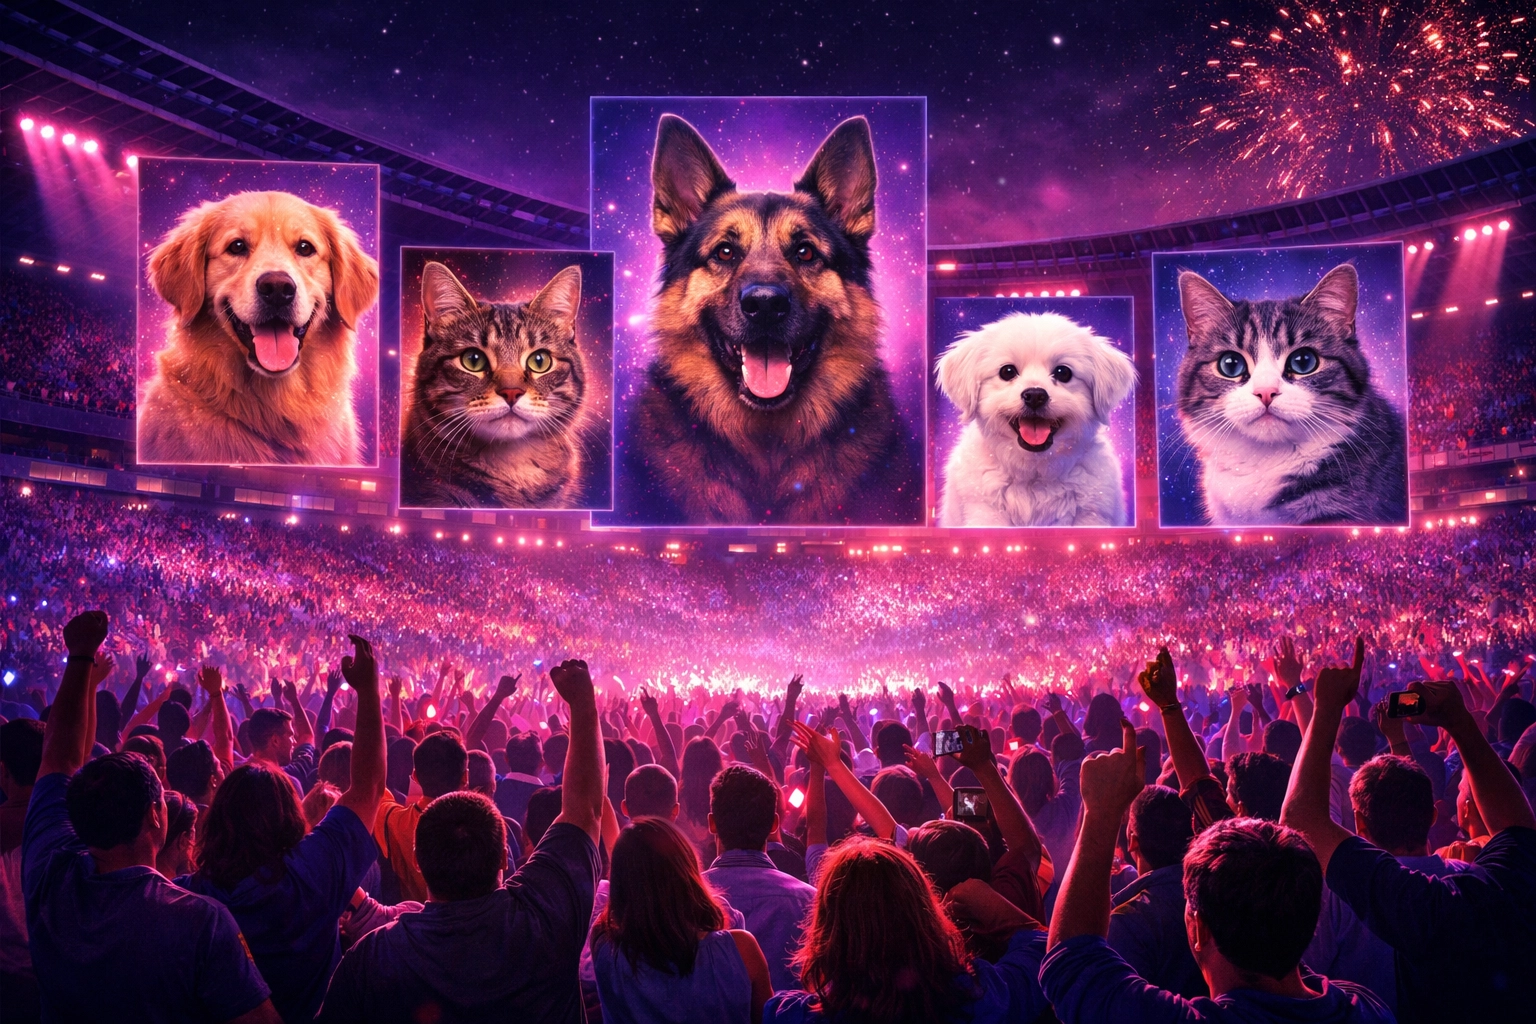
One of the best questions of the session came from Kai, who’s looking at putting a pet portrait experience on a jumbotron for a 21,000-seat stadium.
The short answer on pricing:
- Figure out expected participation. For virtual experiences, historical data suggests 35–55% of attendees will participate. For a pet experience vs. a selfie experience, we don’t have enough data yet to know if that’s higher or lower.
- Calculate token cost. In Pictor’s billing, you can top up tokens in blocks. 20,000 tokens = $1,400. Each AI still image is 1 token. Each AI video (low res) is 5 tokens. Run your math accordingly.
- Build your quote. Take your creative/setup time, multiply by your hourly rate. Add your monthly license. Add your token cost estimate. Add a buffer for overages (buy in blocks of 500 or so).
- Use an LLM to sanity-check your math. We literally screenshotted the Pictor billing page, pasted it into Perplexity, and said: “These are my token costs. The venue seats 21,000 people. I’d expect 35–55% participation. Make recommendations on how many tokens I should include in a base package.” It gave back a clean breakdown in seconds.
- Set a session cap to protect yourself. In your event settings, you can set a maximum session count. When it hits that number, the experience locks with a custom message. Use this to cap your token exposure — and price overages into your contract so the client pays for them, not you.
Frequently Asked Questions (FAQ)
Do guests need to bring their pet to the event?
No — that’s the whole point of the virtual booth. Guests scan a QR code with their phone and upload a photo from their camera roll. This makes pet portrait experiences work at almost any event, not just dog shows or pet-specific activations.
What types of pets does this work for?
Anything you include in your prompt’s survey options. We tested dogs, cats, birds, rabbits, horses, and alpacas during this session. The key is adding each animal type as a selectable option in your prompt variables — the AI handles the rest.
Why isn’t my pet looking like the photo I uploaded?
Two things to check first: the crop and the photo quality. A tight crop that cuts off distinctive features (big ears, unusual markings) will hurt likeness more than any prompt tweak. Start by adjusting the upload crop before going back to rewrite the prompt.
I edited my prompt but the event isn’t using the new version. What’s going on?
Pictor freezes prompts in live events on purpose — so changes you’re testing don’t affect an experience that’s actively running. After editing a prompt, go back into your event template, open the capture layer, and manually reassign the updated prompt. One extra click, but it protects your live events.
Can I run this as a virtual-only experience with no physical booth?
Yes. Enable the virtual booth in your Outputs settings, share the QR code or URL, and run the slideshow on any screen at the venue. Some of our Outsnapped clients have done 800+ photos in a single day this way — no physical hardware required beyond a screen and an internet connection.
How do I handle guests who submit inappropriate content?
You can set a maximum session count to cap total submissions, and all outputs flow into your render queue where you can review before they appear in the public slideshow. The slideshow and gallery are separate from the session feed — you control what goes public.
What’s the difference between the simulator and the virtual booth?
The simulator is your internal testing tool — outputs appear in your Sessions and render queue, but not in the public slideshow or gallery. The virtual booth is the guest-facing experience. Always test in the simulator, then switch to virtual for the live event.
Can I use this for non-pet events?
Absolutely. The tokenized variable approach — where guests choose a style and a “profession” — works for any themed experience. Swap pets for people, swap professions for sports positions or brand personas, and you’ve got a completely different activation using the same underlying setup.
Does Pictor have an API for enterprise integrations?
Yes — there’s an API available at the enterprise tier. If that’s something you’re exploring, reach out directly and we can walk through the options.
Join Us Next Week
Next week we’re covering something we reference all the time but have never actually shown: QR code pre-sharing — how to set it up, why it matters, and how to use it to build buzz before your event even starts.
Register for the next Show & Tell
Haven’t tried Pictor yet? Start your free trial — and come to next week’s session with a project in progress. Whether you’re building your first event or figuring out how to price a jumbotron activation, Show & Tell is where we figure it out together.

Nicholas Rhodes
Founder of Pictor & OutSnapped
Nicholas is the founder of Pictor and OutSnapped—a premium photo experience agency producing AI activations, red-carpet productions, and branded content for global events. He hosts Pictor Show & Tell almost every Wednesday.
Nicholas has produced thousands of branded photo experiences for global clients through OutSnapped and builds the tools operators use daily at Pictor.