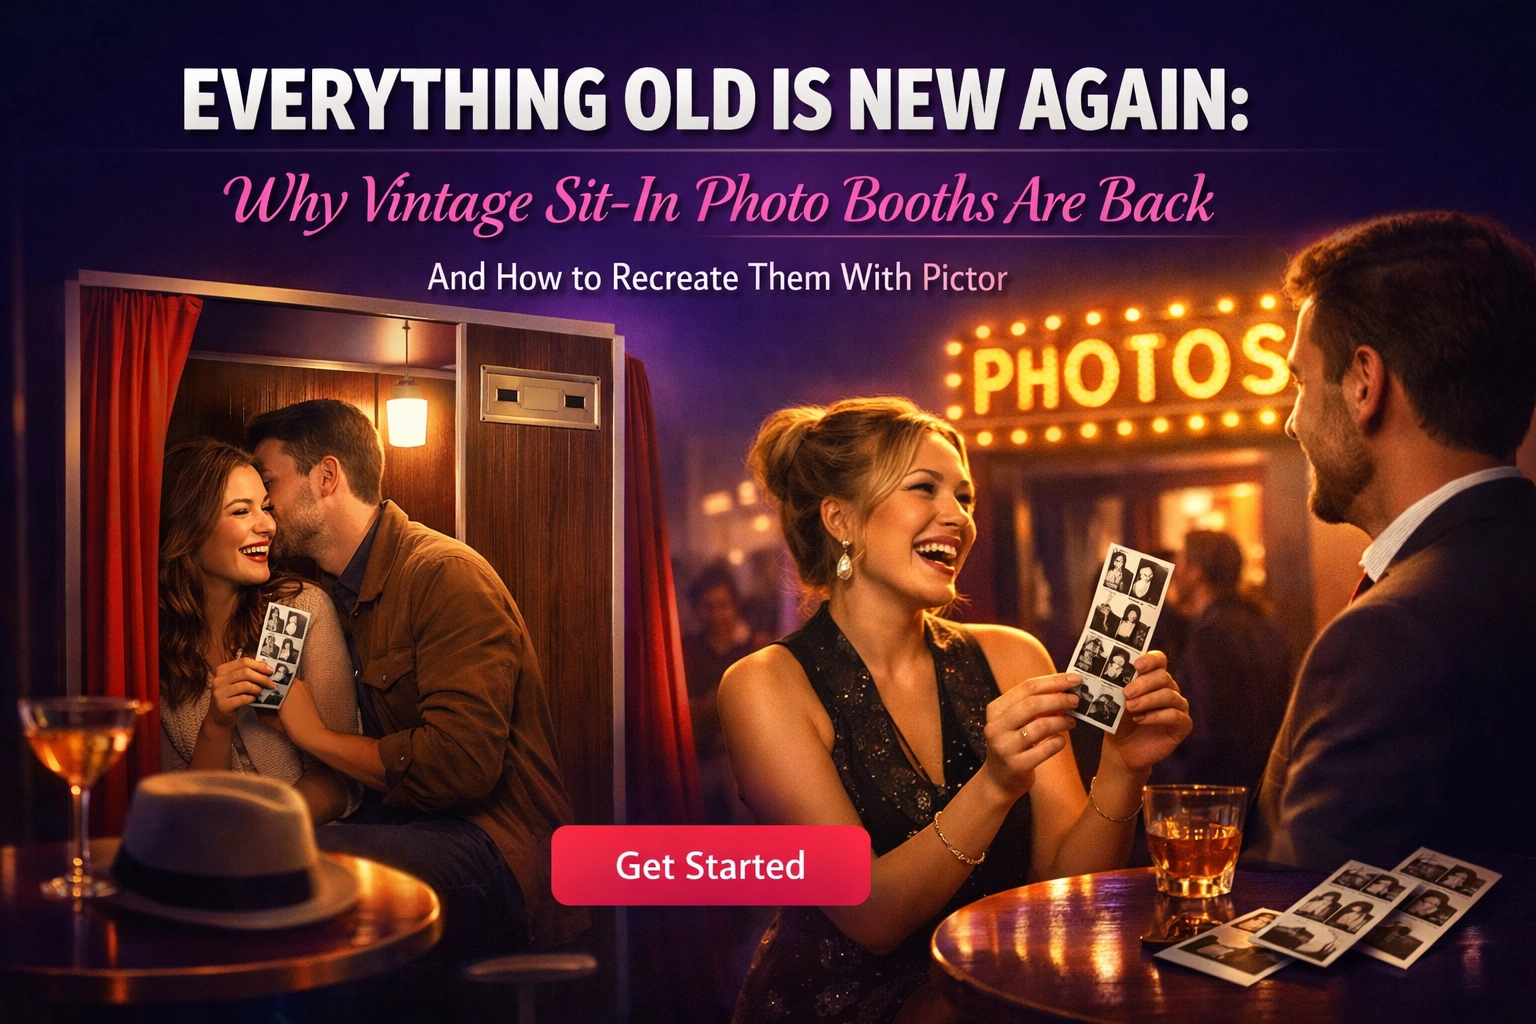
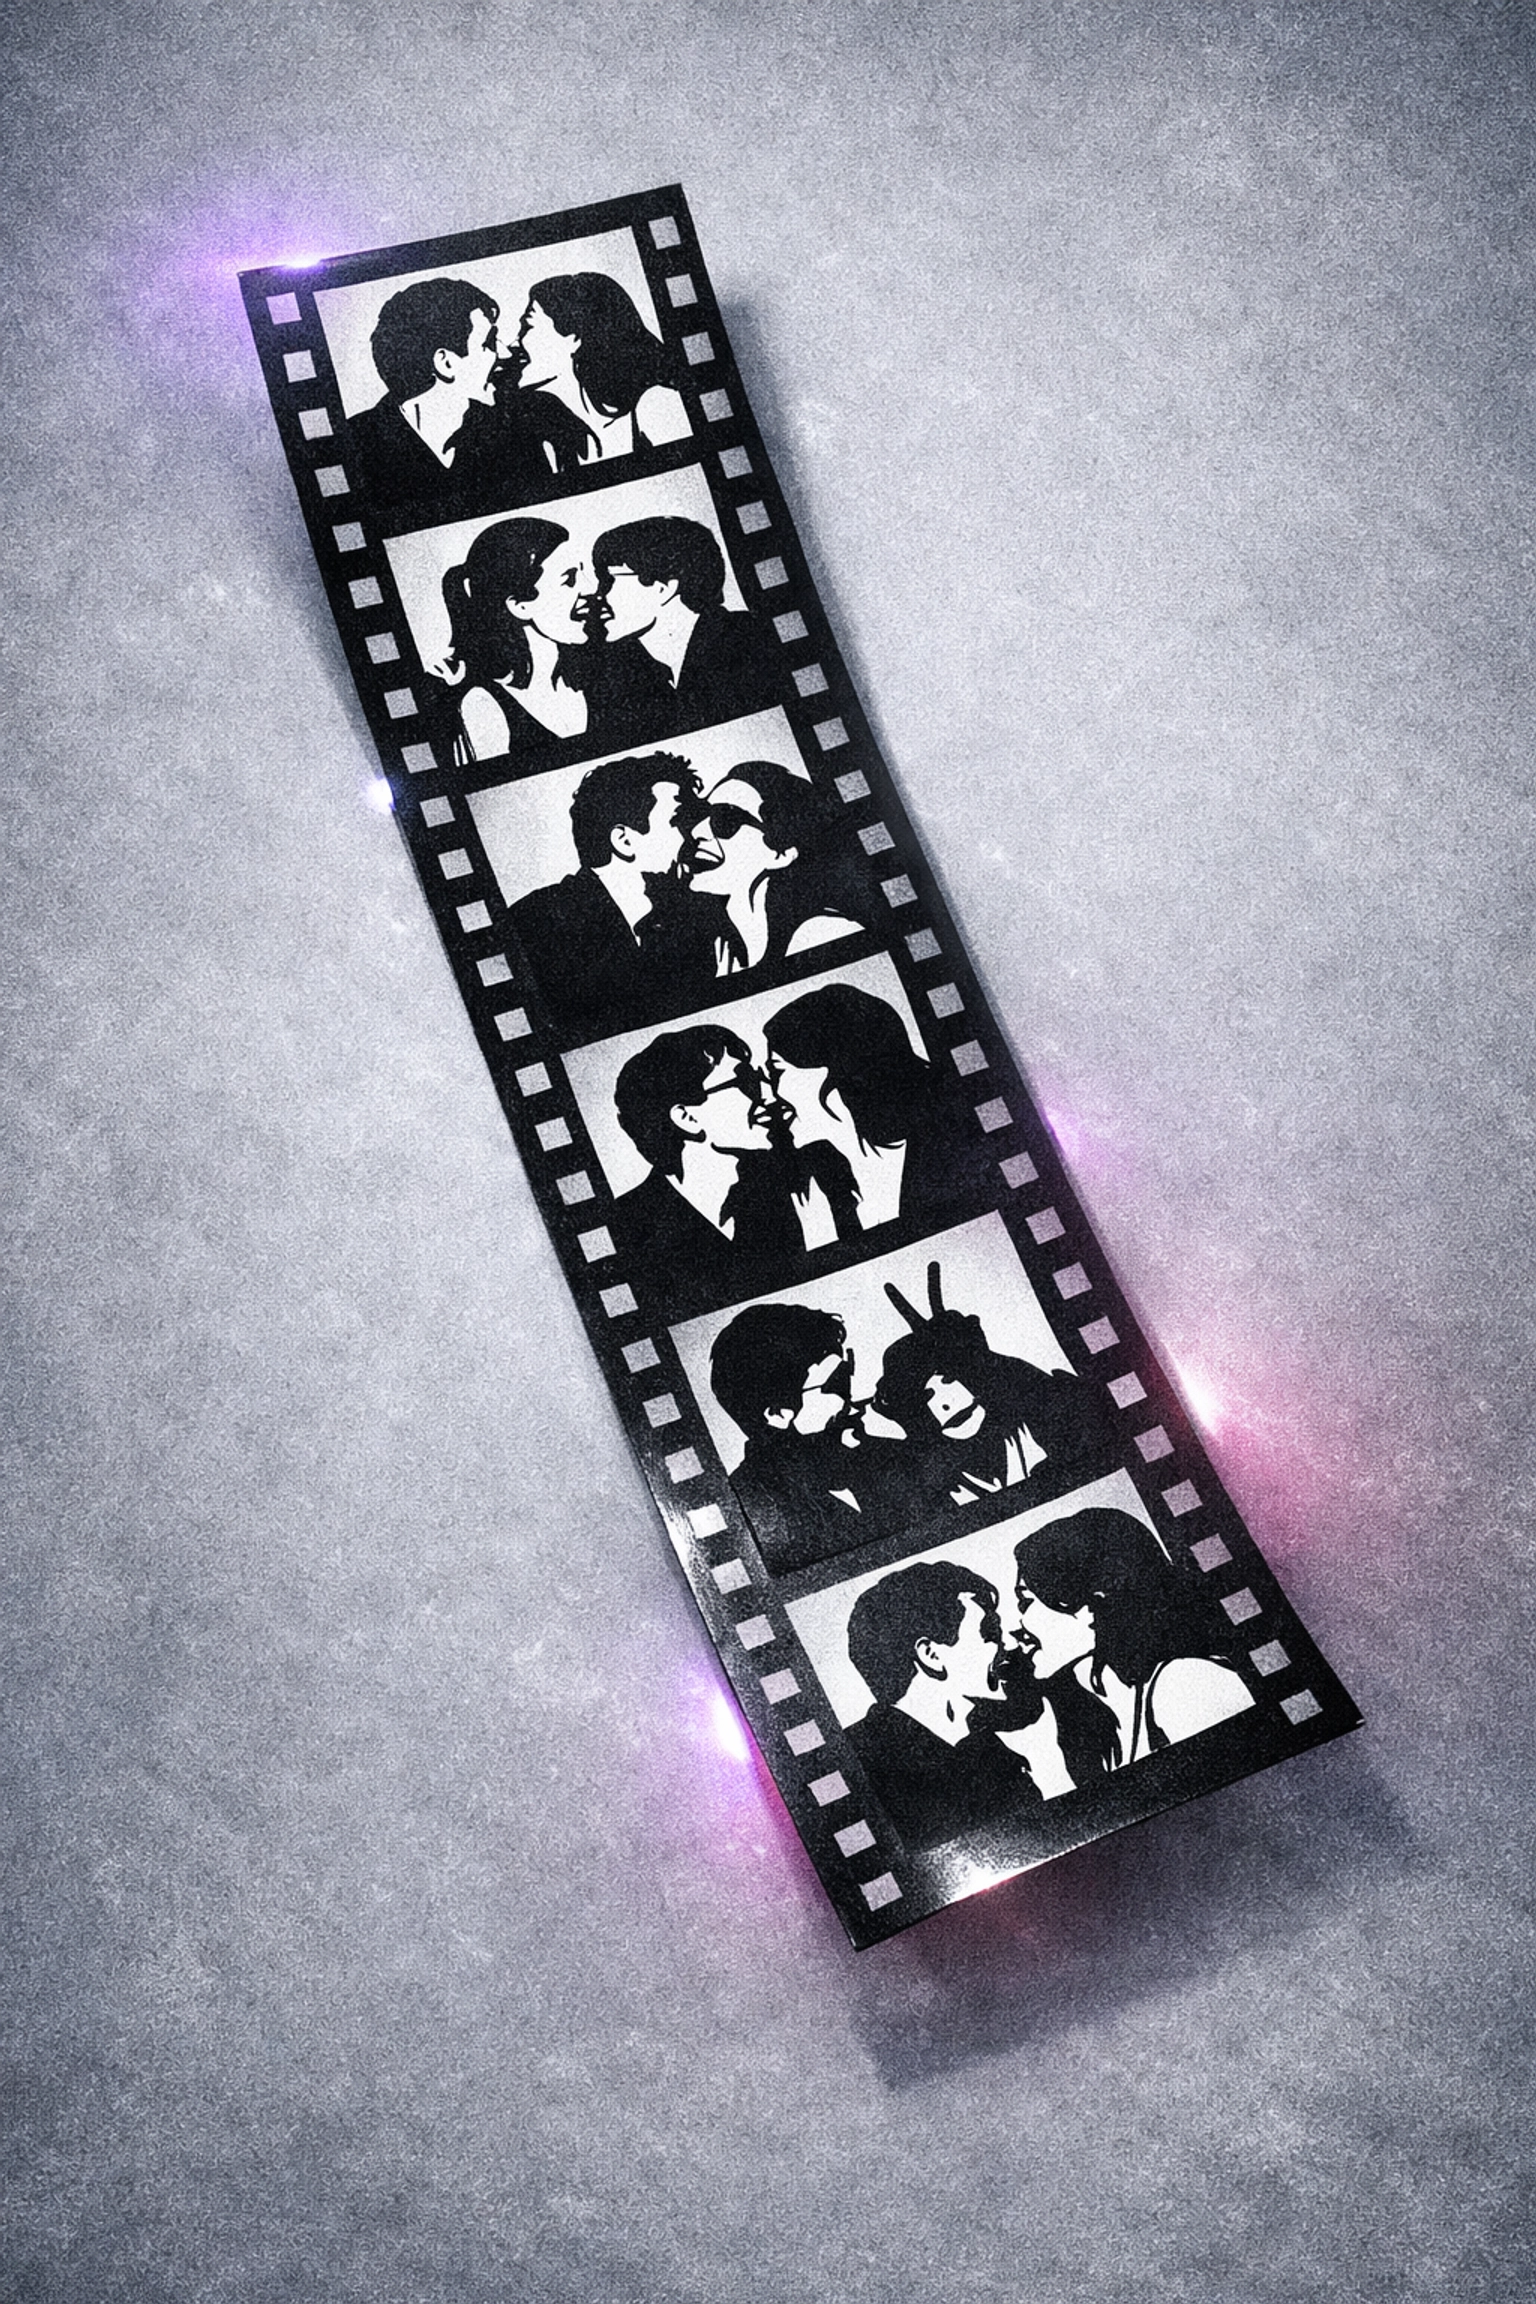
How to Build Vintage Sit-In Photo Booth Strips in Pictor — With or Without AI
Walk through building a classic 2x6 photo strip in Pictor — from a simple three-frame layout to a fully styled vintage booth experience with distressed overlays, curtain backdrops, and AI-powered film-era effects.
Eve Martin
Watch the full Show & Tell recording
Recap from our Show & Tell
If you’ve been paying attention this year, you’ve noticed something surprising: in a season dominated by AI everything, some of the most requested photo booth experiences are the most analog ones. Vintage sit-in photo booths and classic 2×6 strips are surging in popularity — sometimes outperforming the flashier, more obviously high-tech offerings.
At OutSnapped, we’ve gotten more requests for that vintage booth this past year than we have in the last ten years combined, since we retired ours. And we’re not alone. The sit-in booth was one of the biggest stories at PBX this year, with manufacturers like Cabina and Booth generating serious buzz. (We partnered with the Moby Booth team at PBX — that booth folds down beautifully and is going to work really well with Pictor’s tap-to-pay functionality.)
So in this week’s Show & Tell, we walked through how to recreate that classic sit-in booth experience inside a Pictor event — first without AI, then with a vintage overlay and curtain backdrop, and finally with AI prompts that add film-era character while keeping guests looking like themselves. Here’s everything we covered, step by step.
Why Vintage Is Back
There’s a real pushback on AI being everywhere. And look — we love AI. But there’s a time and place for any tool, just like there’s a time to use film and a time to use digital. What operators are finding is that guests — especially younger ones who didn’t grow up with mall or boardwalk booths — are actively seeking out that tangible, analog feeling. They see strips on TikTok, pinned to friends’ fridges, and in their favorite coffee shops, and they want one of their own.

The good news for Pictor users is that delivering this experience doesn’t mean choosing between “team AI” and “team analog.” You can start with a simple non-AI strip and layer in as much or as little vintage styling and AI magic as the event calls for.
New to Pictor?
Build your first vintage strip in minutes
Follow along with this walkthrough inside your own Pictor account. Free accounts include everything you need to build and test.
No credit card required
Part 1: Building a Simple 2×6 Strip (No AI)
We started with the fundamentals — a three-frame 2×6 strip that any operator can build in a few minutes.
Create Your Event
Log into your Pictor account at app.pictor.pro (or register for a new one if you’re just getting started). From the dashboard, create a new event — we called ours “Photo Strip Show and Tell.”
Set Up the Template
Head to your flow, add a new template, and select the 2×6 layout. Quick note: if you’re on a Pro or Premium account, you can actually create any custom artboard size you want. We recently had a client request a 728×90 layout — basically an old web banner — and we were able to build it, no problem.
Add Your Captures
Drop in a single capture, switch it to a 1:1 ratio (square), then duplicate it twice so you have three stacked square captures. Position them so they fill the strip — capture one, two, three, top to bottom.
Test It in the Simulator
Save and open the simulator. Take three test photos and watch the strip render in real time. No AI means no waiting — it composites instantly. The simulator is getting an update soon so it can preview on different device types, but for now it approximates your iPad setup so you don’t have to run out to your car in the middle of the night to grab your photo booth for a test.
That’s it for the baseline. Three flashes, three reactions, one strip. It proves the core loop works before you add any styling.
That’s literally it
Three captures, one strip, zero AI required
The basic 2×6 strip takes about five minutes to set up. Open your account and try it right now — you can follow the next section in real time.
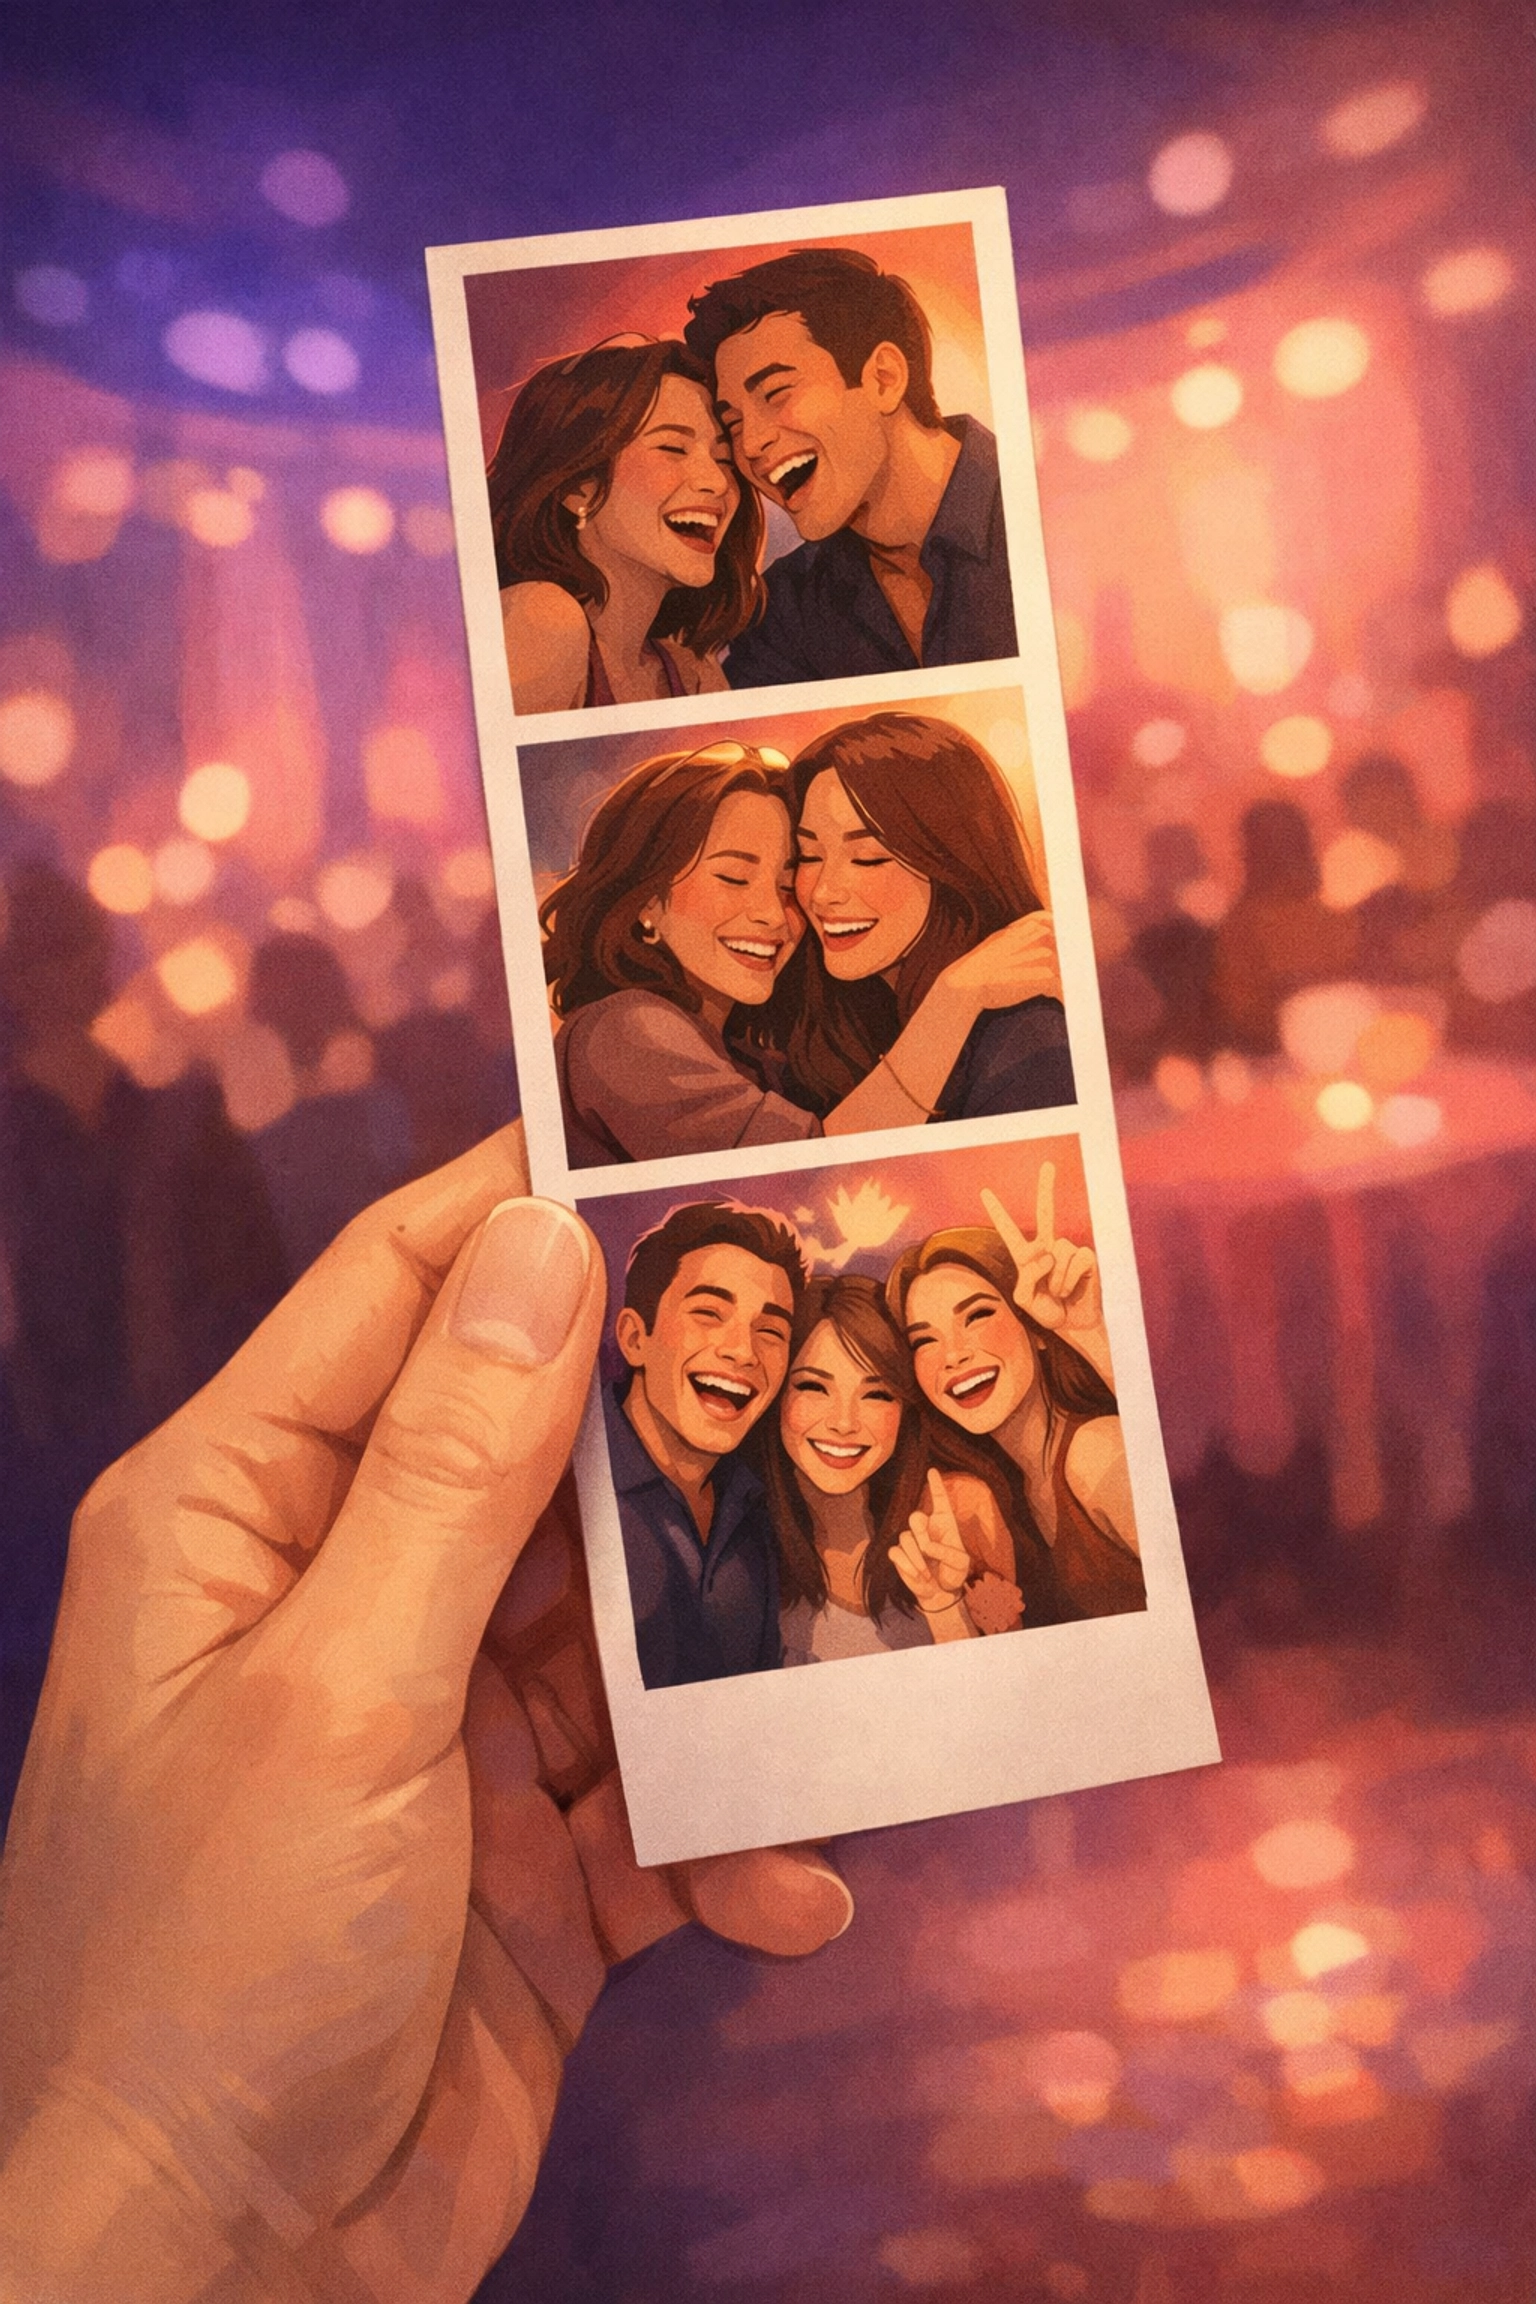
Part 2: Creating a Vintage Look Without AI
Once the base strip is working, the goal shifts from “photo strip” to “photo strip that looks like it dropped out of a booth in a bus station decades ago” — still without touching AI.
Add a Distressed Overlay
Find or license a distressed frame graphic — scratches, worn edges, chemical stains, the works. The one we used during the session needed some prep work in Photoshop first:
- Resize it to match the 2×6 strip dimensions (640×1920 pixels).
- Convert to black and white and invert it, then desaturate fully so you have a true monochrome overlay.
- Adjust levels — lighten the midtones so the overlay isn’t too heavy, nail the blacks so the distressed details stay crisp, and open up the whites so the guest photos can breathe through.
- Apply a slight Gaussian blur to soften any hard digital edges. You want it to look like ink on paper, not a crisp PNG slapped on top.
Upload the finished overlay into your Pictor event, size it to cover the full 2×6 template (640×1920 at position 0,0), and — this is the most important step — set its blend mode to Multiply (or Darken). This lets the underlying photos show through while the scratches and borders stay prominent. Pictor’s blend modes work just like Photoshop’s, so if you’re familiar with those, you’ll feel right at home.
Pro tip: If your first overlay attempt looks too dark or muddy, go back to your editor and adjust the levels. We actually did this live during the session — the first version had too much gray, which blocked too much of the photo. A second pass with lighter midtones and punchier blacks made a huge difference.
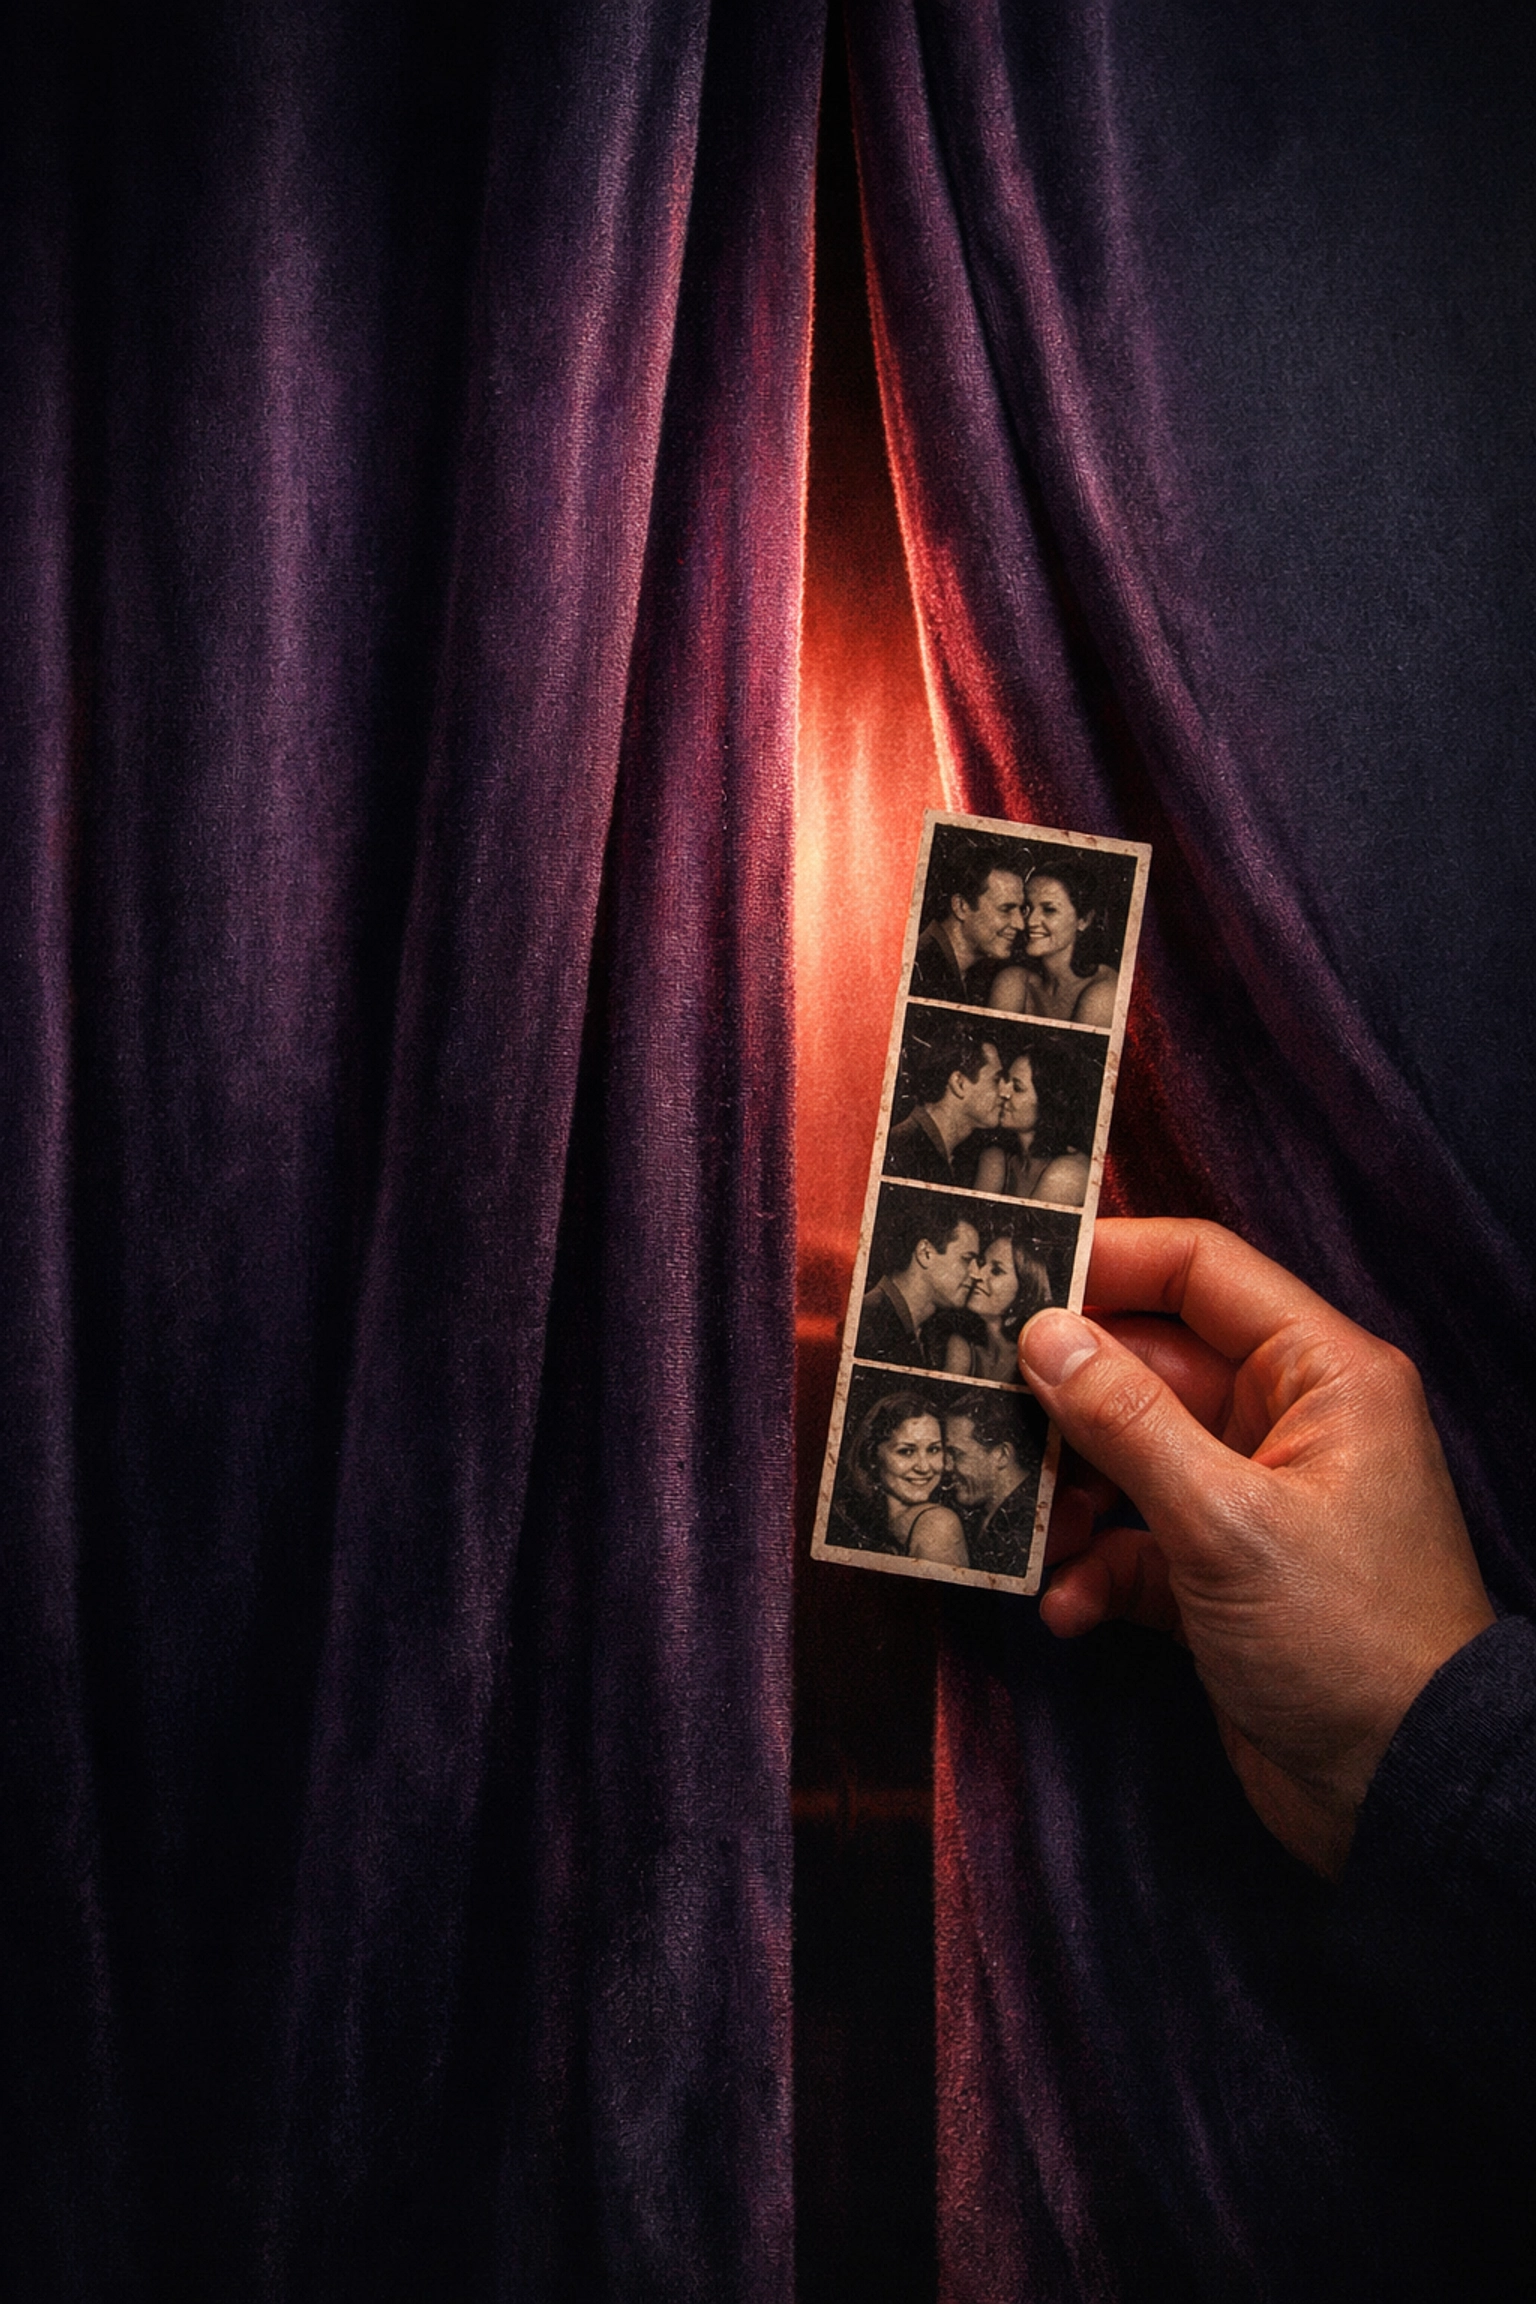
Add a Curtain Backdrop
The classic sit-in booth has that unmistakable red or blue curtain behind the seat. To recreate this:
- Find a curtain texture image — red or blue, with that slightly glossy, draped fabric look.
- Upload it into your event and position the curtain layers behind your captures in the layer stack. We intentionally offset each curtain placement slightly so they don’t look like an identical copy-paste across all three frames — just like a real curtain that shifts a little between shots.
Enable Background Removal
This is what ties it all together. Go into each capture’s settings and enable background removal. Pictor offers both a local (on-device) option and a cloud/premium option. The local engine has gotten really great — in most cases there’s no visible difference. Once enabled, guests get cut out from whatever is physically behind them at the venue and composited over the curtain instead.
Run a test in the simulator. You should now see yourself sitting in front of a vintage curtain backdrop, with the distressed overlay adding texture on top. Even with zero AI involved, this already feels significantly more nostalgic than a standard open-air template.
You could also layer color distortion overlays on top for an extra aged look — faded color shifts, light leaks, that kind of thing. We didn’t do it during the session, but the technique is the same: upload the overlay, set the blend mode, and adjust until it feels right.
See what other operators are building
Join 650+ operators in the Pictor community
Share your vintage strip builds, get overlay resources, and see how other operators are using these techniques at real events.
Part 3: Adding AI-Powered Vintage Styling
If your clients are open to AI enhancements, Pictor’s custom prompt tools let you push the vintage feel even further — making the final images look like they were produced by older technology, complete with film-era color, chemical stains, and imperfect exposure. The critical rule: the guest should still look like themselves.
Craft Your Prompt
We used Perplexity to help draft the initial prompt. The request was something like:
“Use the uploaded reference image to create a repeatable generative AI prompt where I can create a vintage-looking photo from a selfie. I want each frame to look as if it was taken in the same vintage photo booth — colored with chemical stains, imperfect exposure, and that classic red curtain backdrop behind them.”
The key word is repeatable. The same prompt has to work for every person who walks up to the booth, not just your test image.
Set Up the Prompt in Pictor
Head to your custom AI prompts in Pictor and create a new prompt. In the subject description, be explicit: use the uploaded selfie as the reference image. Do not change the look and feel of the person — their shape, size, facial structure, skin tones, etc. should all remain true to the reference.
Paste in the prompt language from your LLM and test it. The first generation we ran looked incredible… except the AI added a Polaroid-style border around the image. Since we’re compositing these into our own 2×6 strip design, we need the image to go edge to edge with no frame.
Iterate Until It’s Right
We went back to Perplexity with a screenshot of the output and said: “We’re 99% of the way there. The image looks amazing, but I don’t want any frame around it — just the image itself, edge to edge. And distress it more: creases, rough edges, chemical stains. We don’t want it to be perfect.”
That round nailed it. The output looked like it came out of an old chemical booth, not a 2026 AI pipeline.
Important: AI is great 80% of the time. The other 20%, you have no idea why it did what it did. Test your prompt multiple times to make sure the results are repeatable before you take it to an event.
Two Ways to Build the AI Strip
Once you have a prompt you like, there are two approaches for assembling the strip:
One pose, multiple AI outputs: Add a single capture to your template, attach your custom AI prompt, and set it to generate four AI variations from that one selfie. Place three of the outputs into the strip frames. This uses one photo and four AI tokens, and produces subtle variations on the same pose — similar to how a real booth might capture slight shifts between frames.
Three poses, one AI output each: Add three separate captures, each with the same AI prompt but generating just one output per capture. The guest takes three different photos, and each gets processed independently. This uses three AI tokens and gives you three genuinely distinct poses with the same vintage treatment.
During the session, we also experimented with adding suggested poses directly into the prompt — telling the AI to randomly choose from a set of classic photo booth poses (chin on hands, silly face, looking away then back, etc.) to introduce variety while keeping the overall style consistent.
A Note on Token Usage
One of our customers asked about cost during the session. The one-pose-four-outputs approach costs four tokens. The three-pose approach costs three tokens. Choose based on whether you want the subtle-variation look or genuinely different poses.
Ready to add AI to your booth?
Custom AI prompts are included on every Pictor plan
Start with the non-AI strip, then layer in AI vintage effects when you’re ready. Free trial includes AI tokens to experiment with.
Upgrade when you’re ready to take it to a client
Part 4: Branding the Whole Experience Like a Vintage Booth
The strip is only half the story. To really sell the illusion, you want the entire guest journey — every screen they tap through — to feel like stepping into a classic sit-in booth.
Global Style Settings
In Pictor’s Global Style Settings, changes propagate through the entire experience instantly. Here’s what we did:
Set the background to your curtain image. The same curtain texture you used on the strip becomes the background for every screen in the flow. Now the start screen, the capture screen, the sharing screen — they all look like they’re happening inside the booth.
Remove the modal backgrounds. By default, Pictor shows text and buttons inside modal containers. For the vintage look, set the modal background alpha to 0 so the text and controls appear to float directly on the curtain. No visible UI panels breaking the illusion.
Typography and Buttons
Pick a Google font with a slightly classic feel — something legible but with character. Apply it to titles, subtitles, and buttons across the flow.
For buttons, we went with a vintage blue for the primary action and white for secondary buttons, with zero corner radius (sharp edges, no rounded corners) so the main “Start” control reads more like a physical button on a vintage machine than a modern app element.
Add Your Logo
Upload your logo in the global branding area and it appears across every screen and/or on the final strip — reinforcing your brand while keeping the nostalgic visual language intact.
Customize Individual Screens
Beyond the global settings, almost every flow stage lets you add custom title, subtitle, and body text. You can also swap the default “Touch to Start” prompt for a custom button label — we used “Photo Booth Time” during the demo.
Hidden Controls for Operators
One detail that comes up a lot: how do you exit the experience on the actual kiosk? Pictor has hidden tap zones — there’s a secret button below the camera that you hold to exit, and another in the corner that you tap three times to access operator controls. Guests never see these; your staff can adjust things on the fly without breaking the immersion.
Save It as a Template and Reuse It
Once you’ve dialed everything in — strip design, overlays, curtain, AI prompt, branding — save the whole setup as a template. For future events, clone it and make minor adjustments to logos, colors, and copy. The vintage foundation stays the same.
The beauty of building it in Pictor: you’re not rebuilding your tech stack or buying specialized hardware. Whether you’re running a physical sit-in booth or an open-air setup that looks like a sit-in booth, the software handles the illusion. Close the curtain, hear the giggles, wait for the strip.
Join Us Next Week
Show & Tell happens every Wednesday. Bring your half-built events, your prompt experiments, your “why does this look weird” screenshots — we’ll work through them together live.
One more thing: if you’ve built something cool with Pictor — whether for a real event or just experimenting — share it in the Pictor Facebook group. Our token fairy Eve has been known to shower creative operators with some bonus tokens.
Your turn
Build your vintage booth experience today
New accounts get AI tokens to experiment with. Set up a strip, add your overlays, test your prompts — you only upgrade when you’re ready to take it to an event.
No credit card required · Free forever plan available

Nicholas Rhodes
Founder of Pictor & OutSnapped
Nicholas is the founder of Pictor and OutSnapped—a premium photo experience agency producing AI activations, red-carpet productions, and branded content for global events. He hosts Pictor Show & Tell almost every Wednesday.
Nicholas has produced thousands of branded photo experiences for global clients through OutSnapped and builds the tools operators use daily at Pictor.