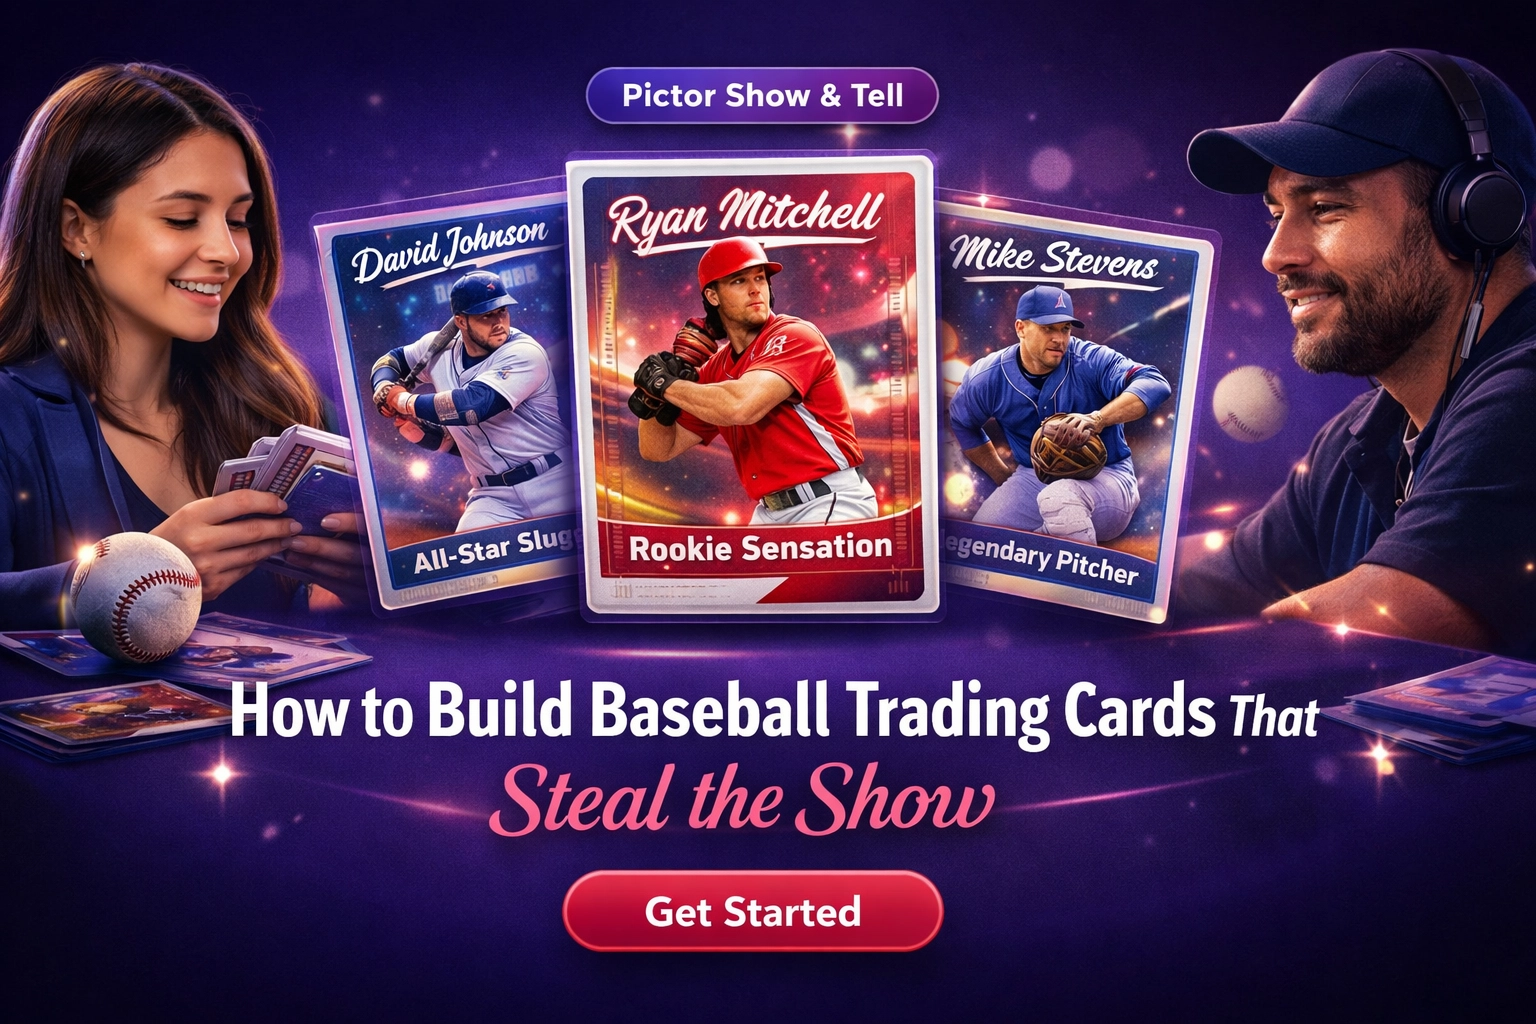
How to Build Baseball Trading Cards That Steal the Show
The exact prompt, templates, paper stock, and finishing gear behind the activation that stopped the floor at PBX10 — built entirely in Pictor Pro.
Eve Martin
At PBX10 in Las Vegas, Pictor ran 13 different activations across the floor. AI headshots? Check. Video transformations? Running. But the one that had operators crowding the booth, phones out, asking “Wait—how did you build that?” was the baseball trading cards.
Nicholas Rhodes walked through the full pro build during a Show & Tell session, and now we’re breaking it down for you: the exact prompt, the paper stock, the folding rig, the holographic seals—everything you need to run this at your next high-end activation.
This isn’t a “fun idea.” It’s a client-proof, scalable, collectible experience that turns guests into brand ambassadors. Here’s how to build it.
Why Trading Cards Work (And Why They Beat Everything Else at PBX10)
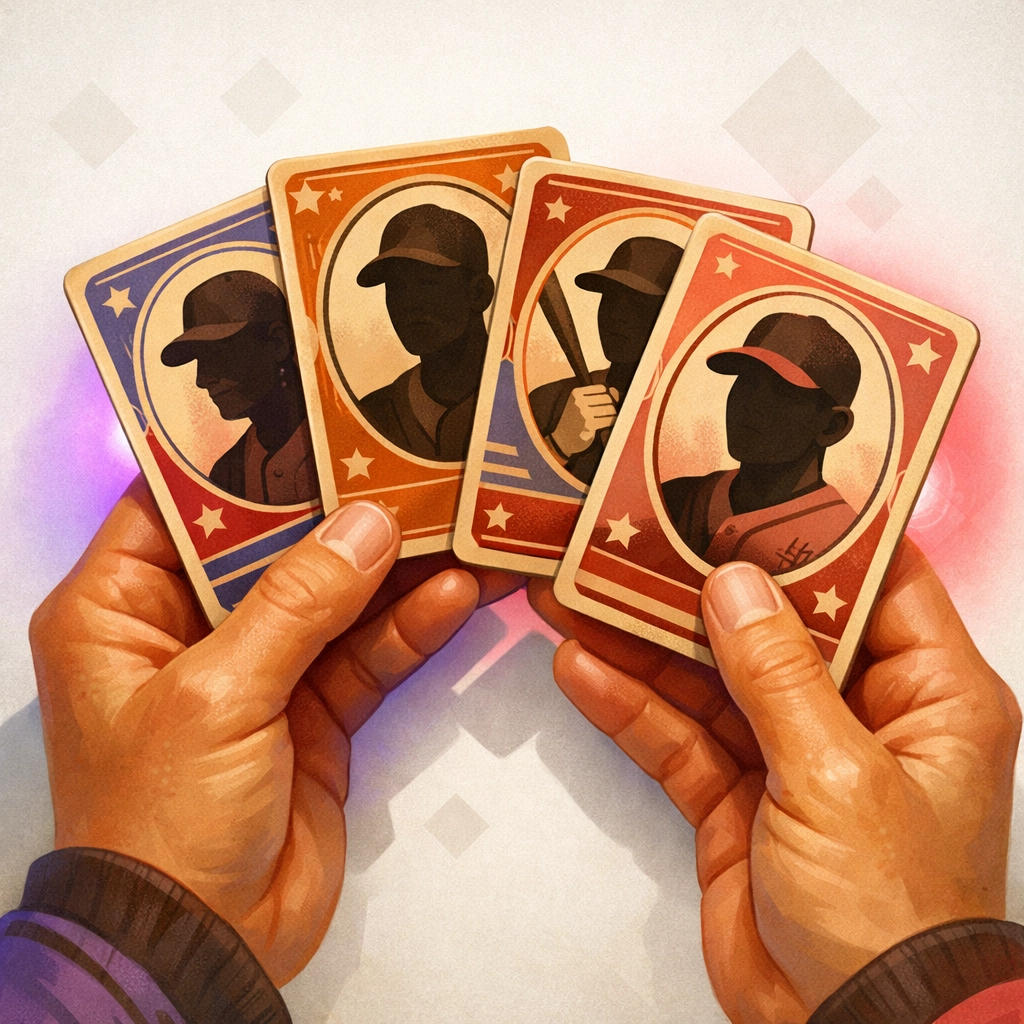
Trading cards hit different. They’re tangible, collectible, and instantly shareable. Guests don’t just take one—they want extras to trade with colleagues. The format taps into nostalgia while feeling premium enough for corporate activations.
At PBX10, the cards outperformed every other activation for one reason: they gave guests something to keep and show off. A headshot lives in your camera roll. A trading card lives on your desk, in your wallet, or pinned to the office corkboard. It’s a physical brand touchpoint that sticks around long after the event ends.
The build requires three layers: smart template prep, a clean Pictor Pro flow, and the right finishing gear. Let’s start with the templates.
Step 1: Prep Your Templates with Photo Booth Talk
The cleanest way to handle card design is through Photo Booth Talk, specifically Cherie Irwin’s trading card template library. For $1.99/month, you get unlimited access to layered PSDs and Canva files that are already dialed in for 1920×1344 (the ideal resolution for 3.5×5” prints on a DNP 620A).
Here’s the workflow:
Download and flatten. Grab the template, note the fonts (usually Babas Neue or Josephin Sans), and remove the sample text layers. You want a clean canvas with placeholder zones for the guest’s name, company, and photo.
Export front and back. Save both as high-res PNGs. The front typically includes the circular headshot zone and the guest’s info. The back can include stats, fun facts, or a QR code linking to your client’s site.
Embed the widget. Photo Booth Talk offers a client-facing widget that lets your client pick card colors, submit hex codes, and upload logos ahead of time. This means you’re not doing design edits the night before the event. The client does the heavy lifting through a simple form, and you import their choices straight into Pictor.
This prep step turns a chaotic “can we change the background color?” request into a streamlined intake process. Your client feels involved. You stay sane.
Step 2: Build the Flow in Pictor Pro
Now comes the magic. Open Pictor Pro and create a new advanced event. You’ll structure the flow like this: Pre-op → Survey → Capture → AI Filter → Output. Watch the full walkthrough:
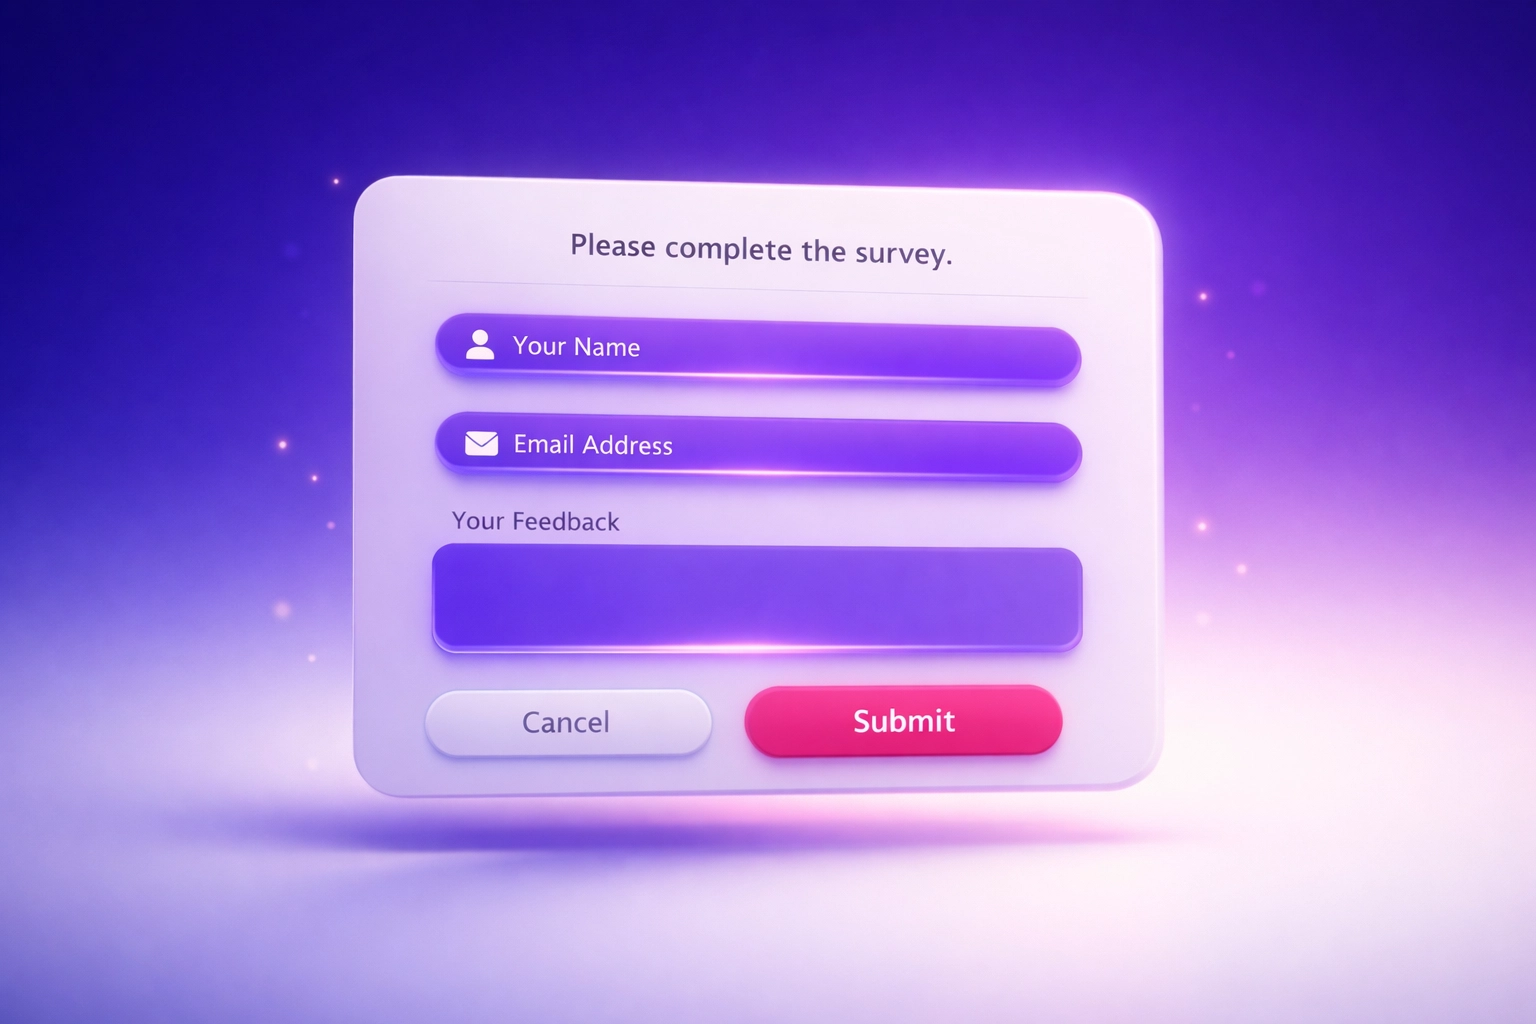
Survey Fields
Add three custom fields:
- Full Name (20 characters max)
- Company Name (20 characters max)
- Favorite Number (2 characters—this becomes their “player number”)
These fields auto-populate on the card using token variables. No manual data entry. No typos.
Template Setup
Upload your front and back PNGs as locked template layers. Set the canvas to 5×7” to match your print size.
Now add your capture layer: set it to 1:1 aspect ratio with a border radius of 200px to create the circular headshot zone. This is where the guest’s face will land, perfectly framed.
The AI Filter
Here’s where it gets fun. Add an AI filter with the prompt: “Professional baseball card portrait, vintage sports photography style, clean uniform, confident expression.”
Set it to generate 2 outputs so guests can pick their favorite. The AI handles the heavy lifting: transforming a casual iPhone snap into a polished, vintage-style card portrait.
Average processing time? 37 seconds. Fast enough to keep lines moving, slow enough to feel premium.
Text Tokenization
Use Babas Neue DemiBold (or your template’s font) and tokenize the text fields:
{full_name}for the guest’s name{company_name}for their company{favorite_number}for their player number
Duplicate each text layer to create a shadow effect: place a black layer slightly offset beneath the white text, then add a subtle drop shadow. This gives the text dimension and makes it pop against busy backgrounds.
Pro tip: Blend a vintage texture overlay using multiply mode at 30–40% opacity. It adds instant authenticity without looking overdone.
Step 3: The Gear That Makes It Premium
The difference between a “cool idea” and a “holy-shit-I-need-this” activation comes down to finishing. Here’s the exact stack we used at PBX10.
Printer and Paper
DNP 620A – The workhorse for pro photo booth operators. Pair it with premium metallic paper or silver-pearl finish for that collectible card sheen. Regular paper works fine for budget builds, but metallic stock instantly elevates perceived value.
Folding
We used a custom 3D-printed folding rig to get clean, precise creases every time. (If there’s enough interest, we’ll do a production run—let us know.) In the meantime, grab a manual creasing machine or an auto creaser with adjustable speed to keep your folding tight and professional.
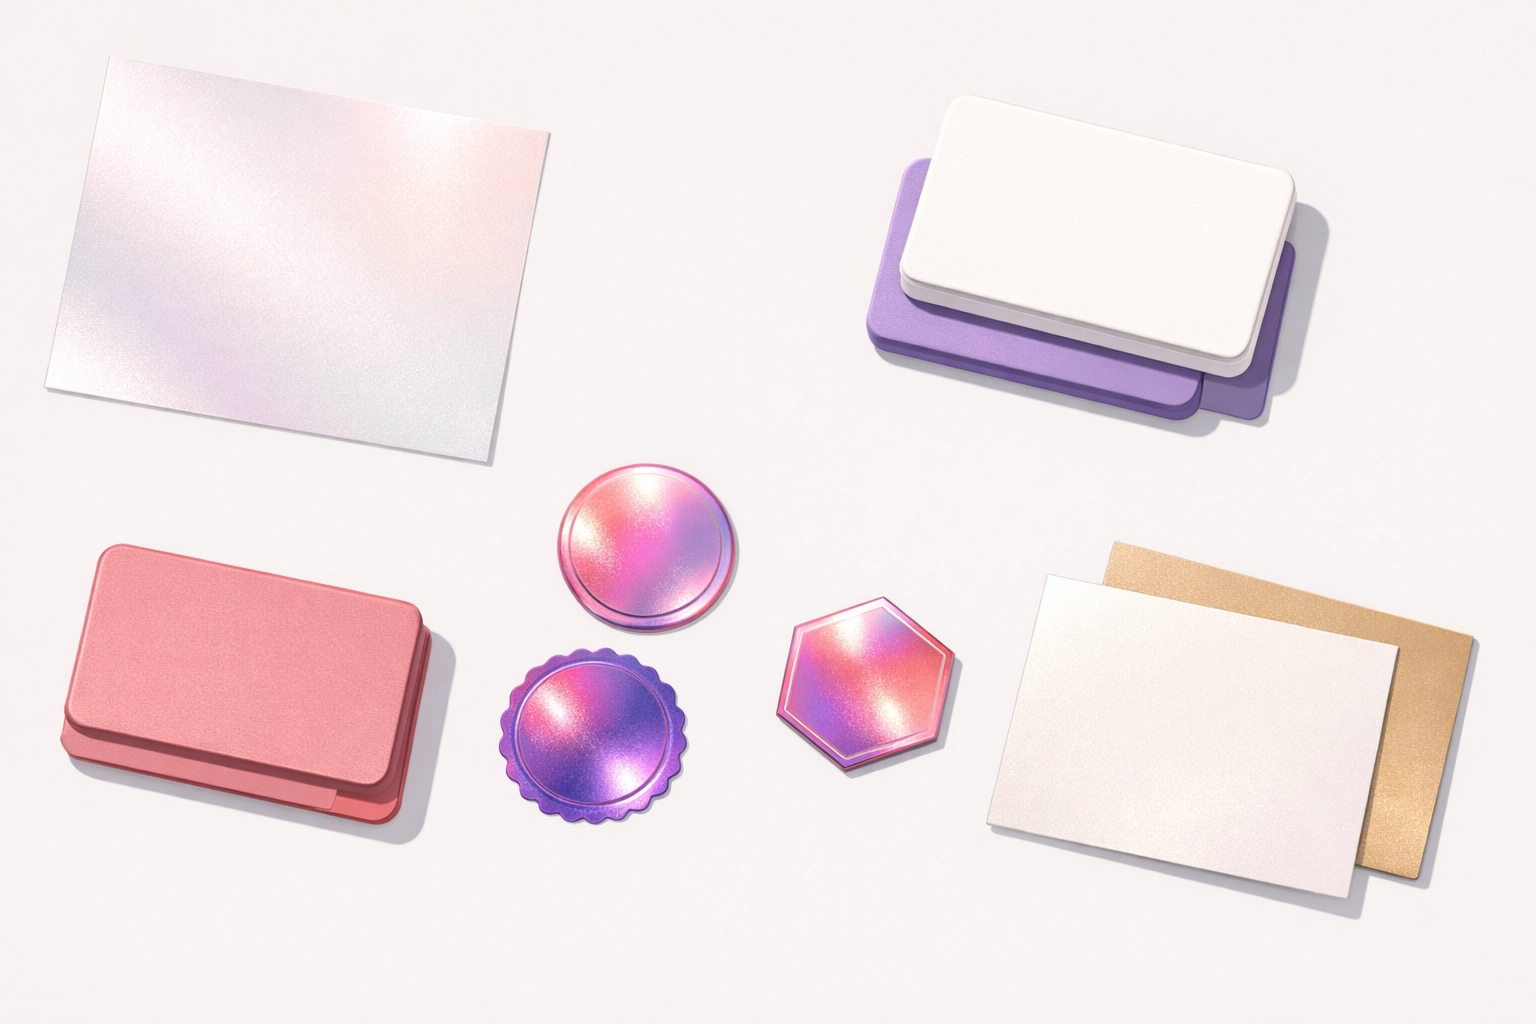
Seals
Holographic seals are the secret weapon. They turn a folded card into a collectible. We tested three options:
- Tamper-proof holographic seals – Great for high-security events
- Silver holographic sparkle rounds – Best for visual impact
- Custom holographic stickers – Perfect for branded activations
Cases
Give guests somewhere to store their cards. We used premium hard cases for VIP events and budget soft cases for volume activations. Both hold 50–100 cards and cost pennies per unit.
Scale It, Clone It, Run It Anywhere
Here’s what makes this build so powerful: it’s infinitely customizable without touching code. Change button colors, swap modal styles, adjust border radius—all through Pictor’s UI. Your client wants rose-gold accents instead of violet? Done in seconds.
Sessions queue automatically, so even during a rush (we saw 17–90 second AI processing times depending on complexity), guests never feel stuck waiting. They see their output render live, which turns the wait into part of the experience.
Want to add more grit? Drop a vintage overlay in multiply blend mode. Need to swap uniforms? Use Pictor’s color picker to shift hues on the AI-generated outfit. The editor works like Canva: intuitive enough that you can make tweaks on-site without a Photoshop degree.
Launch Yours in Under an Hour
You don’t need a full dev team or a design agency to pull this off. Grab the Photo Booth Talk trading card templates, load them into Pictor, set your survey fields, and test it in the simulator. If you can follow a recipe, you can build this.
The operators who saw this at PBX10 aren’t asking if they should add trading cards to their lineup. They’re asking when. Because this is the kind of activation that clients remember, guests collect, and competitors scramble to copy.
Ready to build your first batch? Start your free Pictor trial and build your first batch this week. Next Show & Tell drops Wednesday—reserve your seat.

Nicholas Rhodes
Founder of Pictor & OutSnapped
Nicholas is the founder of Pictor and OutSnapped—a premium photo experience agency producing AI activations, red-carpet productions, and branded content for global events. He hosts Pictor Show & Tell almost every Wednesday.
Nicholas has produced 500+ branded activations for Fortune 500 clients, including custom collectible experiences at PBX, CES, and SXSW.