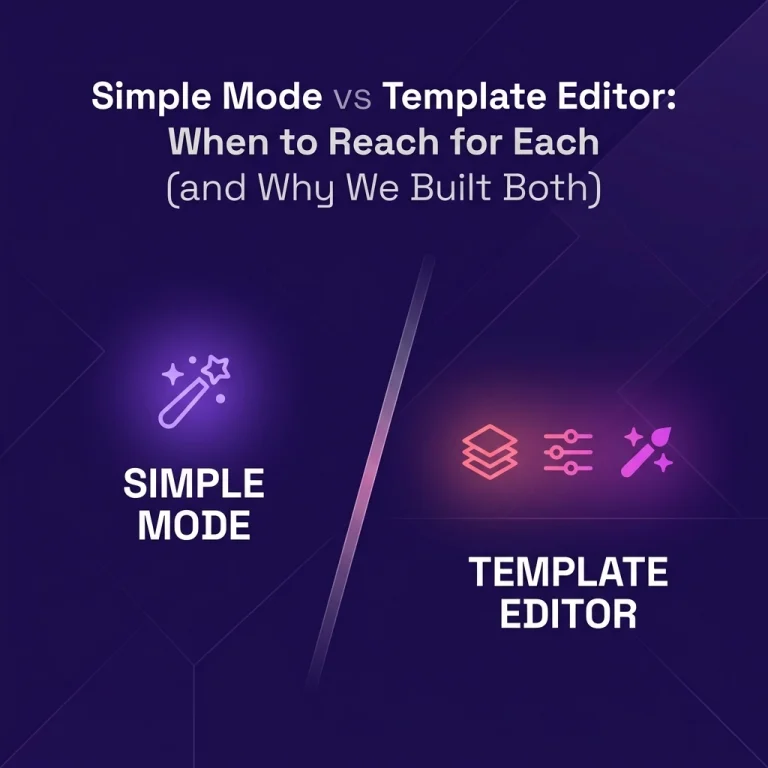
How to Build Branded AI Photo Experiences in Pictor — From Prompt to Event
A step-by-step recap from our March 18, 2026 Show & Tell covering how to craft AI prompts that maintain likeness, set up multi-option event flows, and use reference images and survey questions to deliver polished branded photo experiences.
Eve Martin
Recap from our March 18, 2026 Show & Tell
Every Wednesday, we host a live Show & Tell where Pictor customers bring their real projects, ask questions, and build alongside us in real time. This week’s session turned into a masterclass on two things every operator needs to nail: crafting AI prompts that actually look like the person in the selfie, and setting up events so guests get a polished, branded experience with multiple options to choose from.
Here’s everything we covered — broken down so you can follow along whether you were on the call or not.
Giving Guests Multiple AI Experiences to Choose From
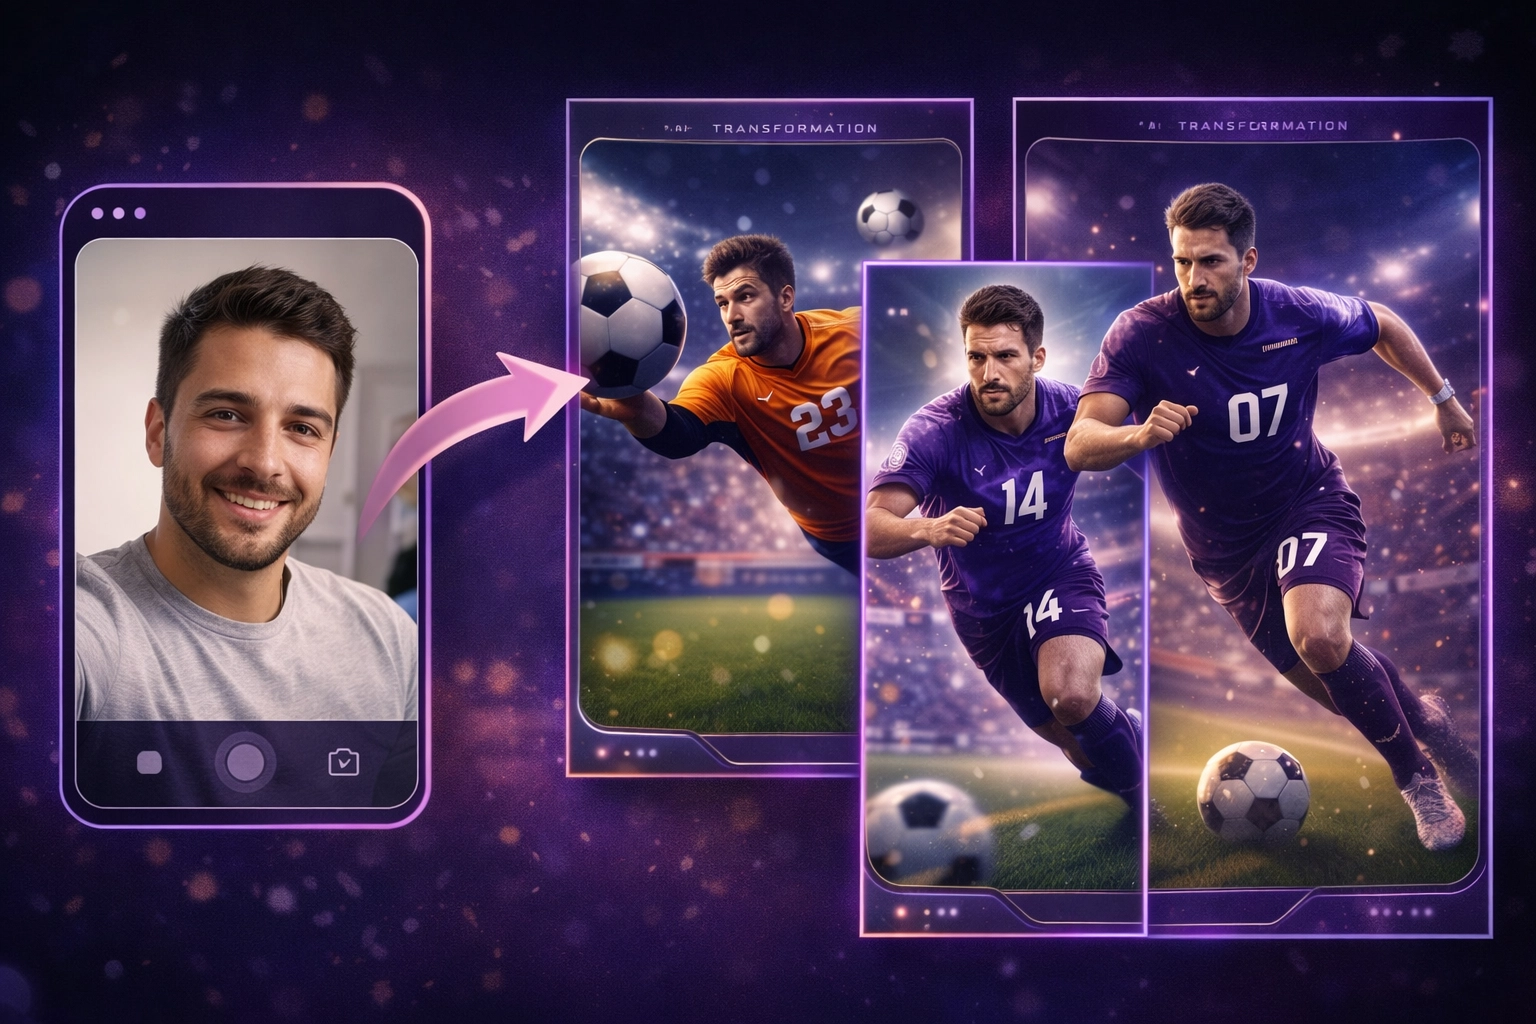
One of our customers came in with a great question: “If I’m running a soccer event and I want guests to choose between being a goalkeeper or a field player, how do I set that up?”
The short answer: you don’t need anything complicated. Pictor lets you expose multiple AI templates directly in the Choose Experience step of your event flow, each with its own thumbnail image so guests know exactly what they’re picking.
How It Works
When you create an event and go into your flow stages, you have two options for organizing multiple AI experiences:
Option 1: Exposed Templates (Recommended for Most Events)
Add each AI prompt as its own template directly in the flow. Each one gets a custom thumbnail — you can design these in Canva or any design tool and upload them. When a guest opens the experience, they see all the options laid out visually and tap the one they want.
We’ve done this for major sporting events where guests could choose to be a player on the field, a goalkeeper, a trophy winner, or a fan in the stands. Four clear options, four thumbnails, zero confusion.
Option 2: Folders
If you have a lot of variations or want to group experiences into categories, you can organize templates into folders. Guests pick a folder first, then choose a template within it. This is useful when you have, say, a corporate event with multiple themed experiences under different brands.
Pro tip: Keep it to four options or fewer. More than that and people freeze up with decision paralysis.
Custom Thumbnails Make All the Difference
Your thumbnails are the first thing guests see. Design them intentionally — a quick mockup in Canva that shows the vibe of each option goes a long way. Upload them directly to each template in the flow editor, and they’ll render on the guest-facing screen.
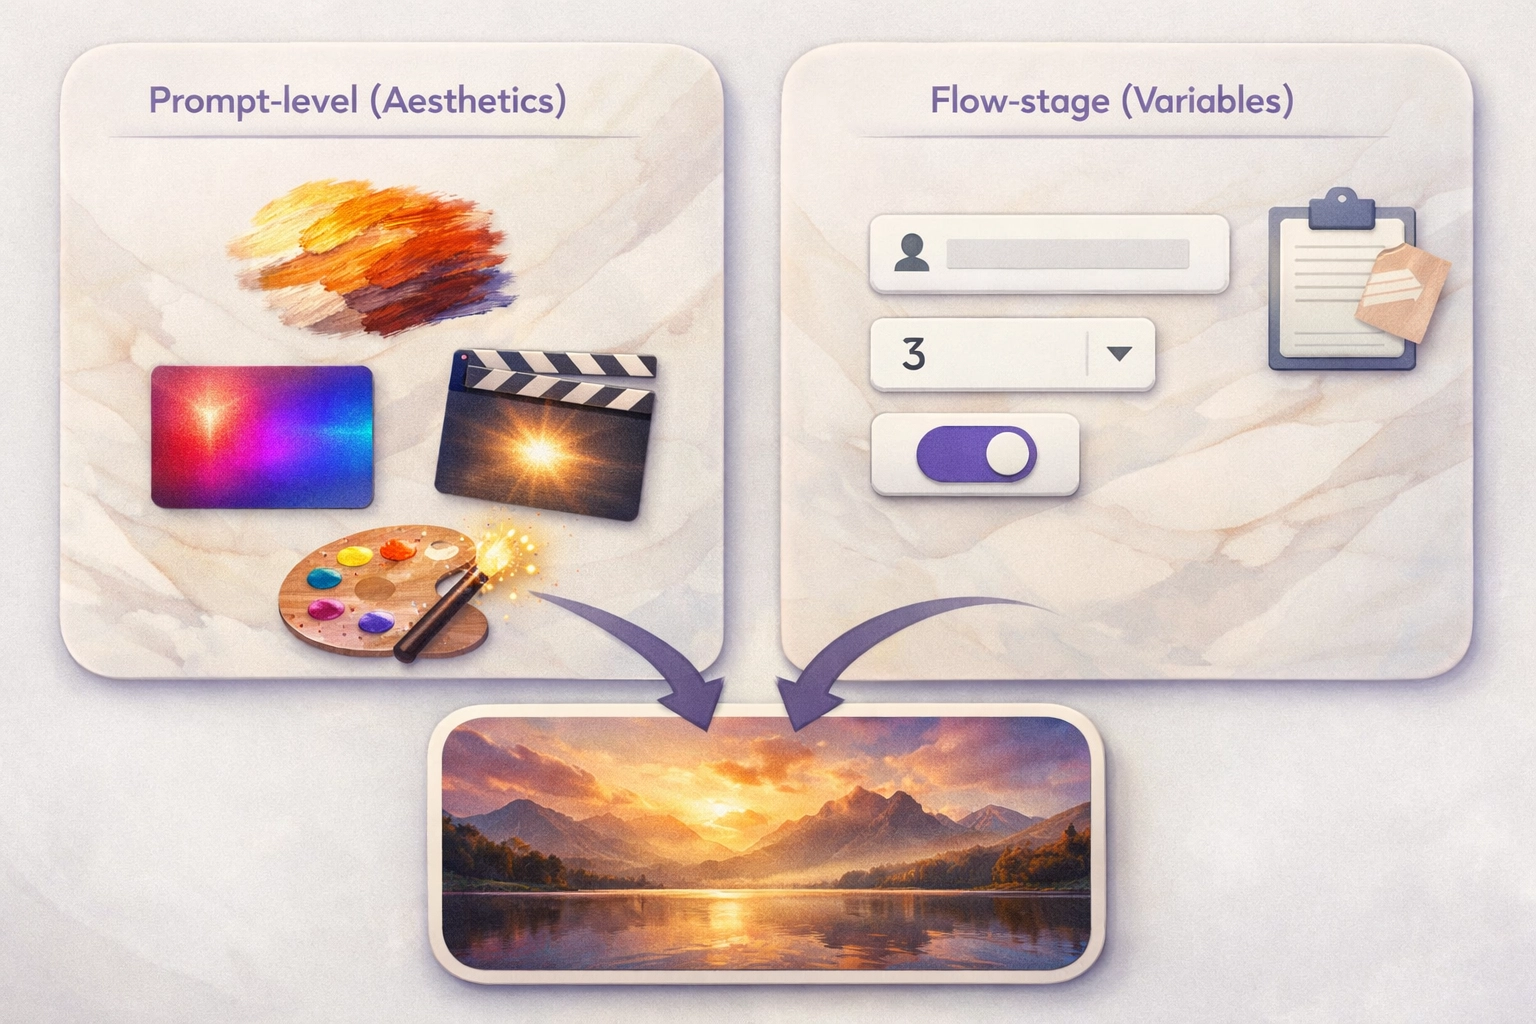
Survey Questions: Prompt vs. Flow Stage
This one trips people up, and it came up directly on the call: “I see survey questions inside the custom AI prompt AND in the event flow stage. When do I use which?”
Think of it as aesthetic vs. content.
Survey questions inside the custom AI prompt affect the AI generation itself. For example: “Do you want this to look like a photograph, a painting, a mural, or a collage?” That choice changes how the AI renders the image. These questions travel with the prompt — so if you reuse that prompt across multiple events, the questions come along for the ride.
Survey questions in the flow stage are for variables and data capture. For example, asking someone’s name so you can overlay it on a collectible card, or asking a jersey number to place on a uniform. These are specific to the event and can be used as text overlays or just stored as data.
A Clever Trick for Jersey Numbers
Want guests to pick their own jersey number without giving them a free-text field (which, trust us, is a race to the bottom)? Use two dropdown survey questions in the prompt:
- “Pick your favorite digit” (0–9)
- “Pick your second favorite digit” (0–9)
Combine them, and you get a two-digit jersey number. No inappropriate entries, no moderation headaches.
Crafting AI Prompts That Actually Look Like the Person
This is where we spent the bulk of the session, and for good reason — it’s the number one question we get. “The AI output doesn’t really look like the person in the selfie. How do I fix that?”
Here’s the workflow we walked through live.
Step 1: Use an LLM to Draft Your Prompts
Don’t try to write AI image prompts from scratch. Use a tool like Perplexity to help you iterate quickly. Here’s the kind of request that works well:
“I’m going to upload a selfie and I’d like you to create a repeatable generative AI prompt. I want the output to be photorealistic, look like sports journalism, and I need a prompt for four different scenarios: an action shot on the field, a publicity photo holding a ball, a goalkeeper diving to block a shot, and a spectator in the stands.”
The key phrase is repeatable — you need a prompt that works for every person who walks up to the booth, not just one test image.
Step 2: Create a Reference Image for the Uniform
Instead of describing a uniform in words and hoping the AI gets it right, generate a reference image. We used Google’s Gemini to create a flat-lay of a custom soccer uniform in specific colors (teal and red) with a fictional logo. This reference image gets uploaded to Pictor’s media library and attached to the prompt.
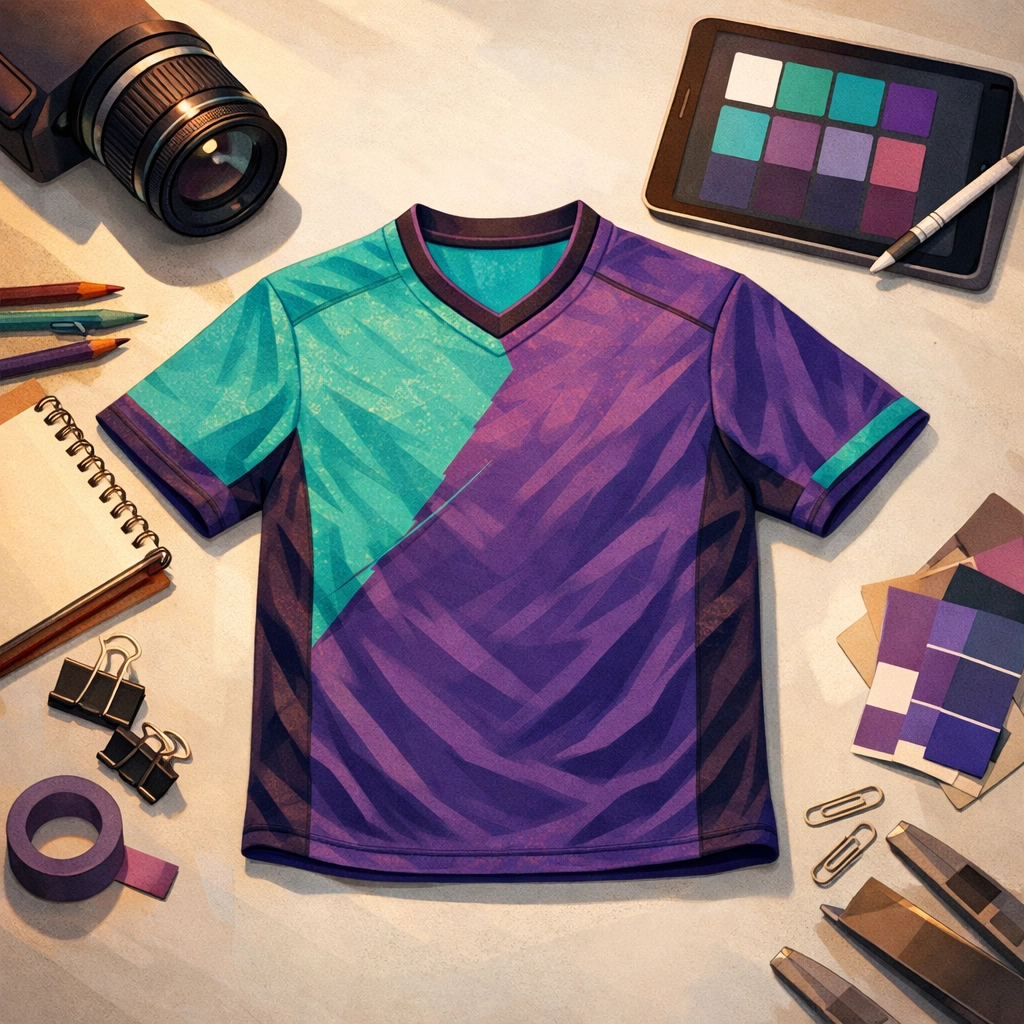
Why a fictional logo? Because AI models are trained on massive datasets that include real brand imagery. Even when you explicitly say “no Nike” the model often generates them anyway — it’s baked into the training data. Creating a custom reference uniform with your own logo (or your client’s branding) gives the AI something concrete to work from.
Heads up: You’ll likely still see phantom brand logos (Adidas on socks was our recurring nemesis in this session). Sometimes telling the AI “no Adidas” actually encourages it because you’ve now put that word in the prompt. The best approach is to focus on what you do want rather than what you don’t.
Step 3: Iterate on Likeness
This is where the magic — and the patience — comes in. Here are the specific techniques that improved our results:
Don’t change the facial expression. If someone takes a neutral selfie and your prompt puts them in an intense action shot with their mouth wide open, the AI has to guess what their teeth look like, how their face moves, etc. Keep the expression close to the input. We added “maintaining the same facial expression as the selfie” to the prompt and saw immediate improvement.
Specify eye contact. Adding “the subject is making eye contact with the viewer” helps anchor the face and keeps it from drifting.
Insist on body type and skin tone accuracy. Add language like “the output should accurately reflect the person’s body type, skin tone, and facial features from the selfie.” This helps prevent the generic-model-face problem.
Call out that it shouldn’t look like a face swap. This sounds obvious, but explicitly stating “the result should not look like a face swap — it should look like a real photograph of this specific person” makes a measurable difference.
Step 4: Make Each Prompt Fully Self-Contained
One mistake we caught mid-session: when you ask an LLM to generate four prompt variations, it sometimes creates them as a chain — prompt 2 references “the same person from prompt 1.” This breaks everything in Pictor because each prompt runs independently.
Make sure each prompt is its own complete, standalone description. No cross-references, no shared variables between prompts. Each one should work as a fully self-contained, atomic unit — containing every detail needed to generate the image without referencing any other prompt.
Step 5: Know When to Start Fresh
Here’s advice that might save you hours: if you’ve been iterating on a prompt for a while and the results are getting worse instead of better, bail. Start a new conversation with your LLM. Take your learnings — what worked, what didn’t — and write a clean brief from scratch.
AI image generation has diminishing returns within a single conversation thread. Sometimes a fresh start with better context upfront gets you further in five minutes than another twenty rounds of tweaking.
Tools That Speed Up the Workflow
Two tools came up repeatedly during the session that are worth mentioning:
Perplexity — An AI-powered search and chat tool. We use it as our go-to for drafting and iterating on prompts because it’s fast, conversational, and free. You paste in what you want, it gives you a draft, you tell it what’s wrong, it fixes it.
Wispr Flow — A voice dictation tool that works anywhere on your computer with a keyboard shortcut. Instead of typing long, detailed prompt feedback, just talk. It transcribes in real time. This is a game-changer when you’re iterating quickly and need to describe visual problems (“the goalkeeper is behind the goal instead of in front of it, and there’s an Adidas logo on the socks again”).
What’s Coming Next
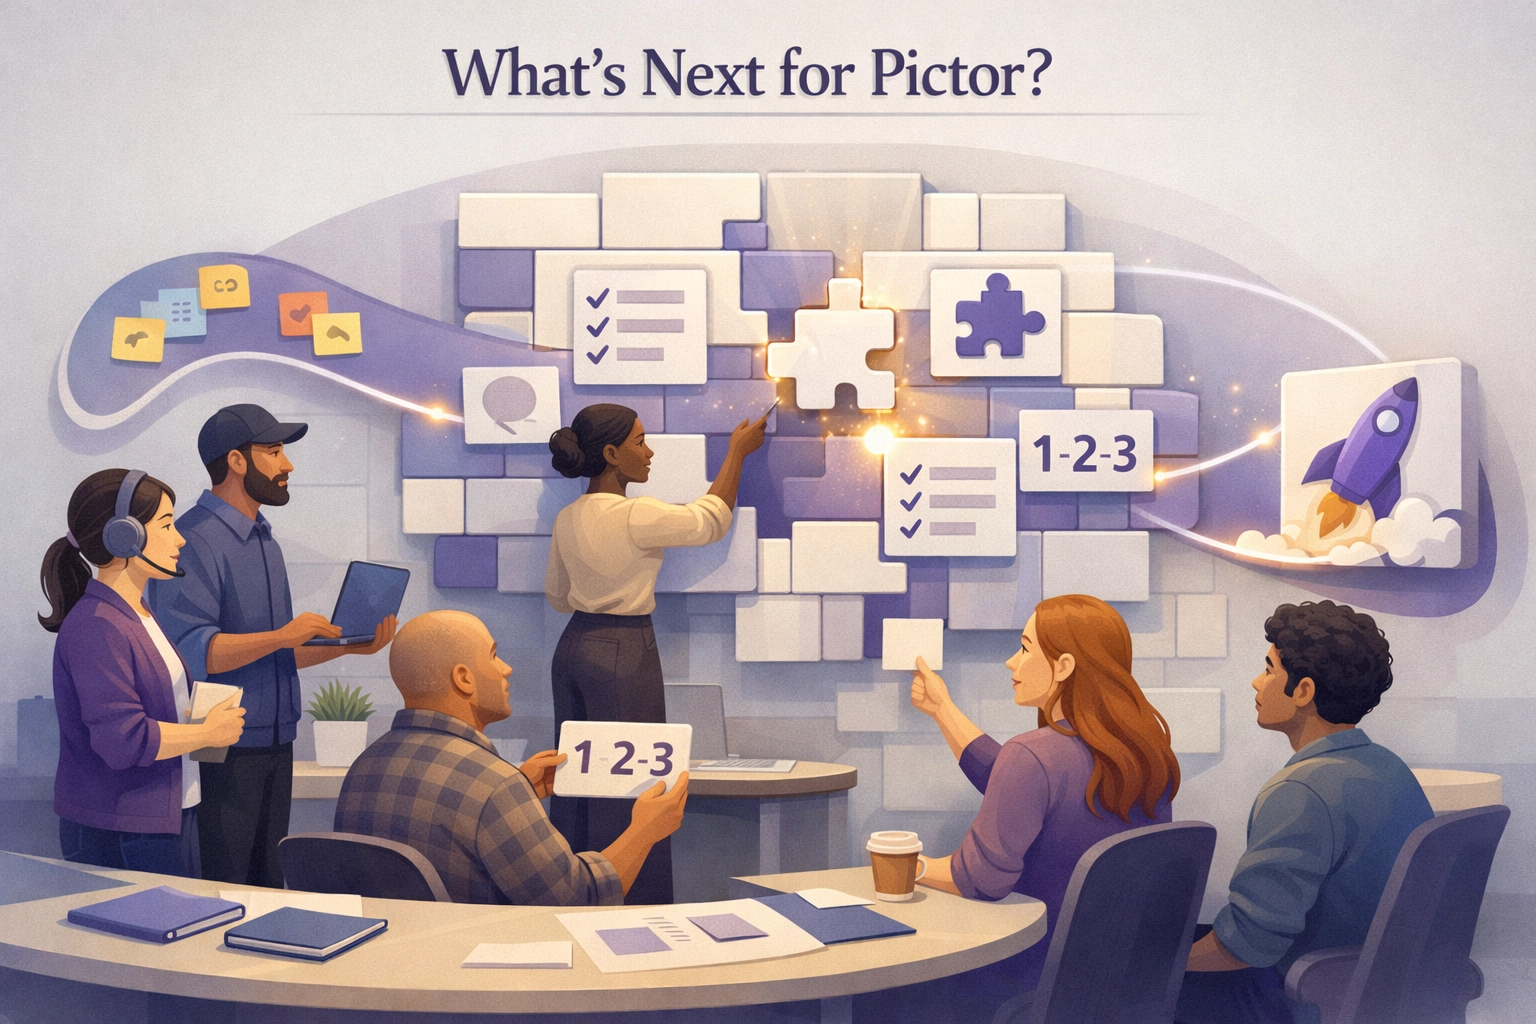
We heard loud and clear from customers on the call that the help documentation needs work — and we agree. We’ve got dozens of help articles, and most need a refresh. We’re actively working on breaking our guides into smaller, stage-by-stage tutorials so you can learn each part of event setup independently rather than watching one long video and trying to remember everything.
The feedback was simple and we’re taking it to heart: show what every button does, break it into pieces, and make it so someone brand new can go section by section and build their first event without prior knowledge.
Join Us Next Week
Show & Tell happens every Wednesday. Bring your prompts, your half-built events, your weird AI outputs with three arms — we’ll work through them together live.
Register for the next Show & Tell
Haven’t tried Pictor yet? Start your free trial and come to next week’s session with questions. Whether you’re a seasoned operator or just starting your photo booth business, these sessions are designed to help you build faster and deliver more to your clients.

Nicholas Rhodes
Founder of Pictor & OutSnapped
Nicholas is the founder of Pictor and OutSnapped—a premium photo experience agency producing AI activations, red-carpet productions, and branded content for global events. He hosts Pictor Show & Tell almost every Wednesday.
Nicholas has produced thousands of branded photo experiences for global clients through OutSnapped and builds the tools operators use daily at Pictor.