How to Run a Photo Booth at a Wedding
Venue coordination, guest flow, lighting, prints, and gallery delivery: the complete wedding photo booth workflow for beginners.

Nicholas Rhodes
Drafted with AI assistance; reviewed and approved by Nicholas Rhodes before publishing.
How do you run a photo booth at a wedding?
A wedding photo booth works when guests never have to think about it. Confirm venue details early, arrive with enough time to test the full guest journey, choose a location that supports the celebration instead of competing with it, and have a plan for delivery, reviews, and referrals after the last guest leaves.
Beginner series · Stage 3 of 5 · Part 12 of 22
Weddings are one of the highest-stakes bookings a new operator will run. The couple has one day. Their planner is coordinating a dozen moving pieces at once, and the venue has its own rules about power, cables, and layout. Your job isn’t just to run the booth well. It’s to make the booth disappear into the celebration, so guests remember the moment, not the equipment.
What should you confirm before the wedding?
Reach out to the couple, planner, or venue contact several days ahead and confirm:
- Venue address and parking instructions
- Load-in and setup window
- The booth’s operating hours
- Where you can unload equipment
- Whether stairs, elevators, or a long walk are involved
- Access to a nearby power outlet
- Wi-Fi availability
- Any venue rules about tape, cables, lighting, or backdrops
- Who to contact if the floor plan changes
Ask for the latest reception floor plan if one exists. A booth planned for one spot can get squeezed out when the DJ, bar, or dessert table shifts into that space during the day.
Confirm the couple’s preferences too: digital delivery only or on-site prints, a copy of each print for the couple, a custom overlay, a post-event gallery, AI effects or GIFs, and a specific closing time. If you’re running the event on Pictor, build the event in advance with the correct branding, sharing options, and capture modes rather than configuring it at the venue. Pictor’s wedding-focused software guide covers what matters most when the client is a couple, not a company.
How early should you arrive?
For most weddings, plan to arrive 60–90 minutes before the booth start time. A more complex setup, long load-in, enclosed booth, or print station may need more.
Your goal isn’t to assemble equipment. It’s to leave enough time to test the complete guest journey:
- Check in with the venue or planner.
- Confirm the booth location.
- Identify the safest route for cables.
- Set up the backdrop and lighting.
- Assemble the booth or tablet stand.
- Connect the camera, printer, and power.
- Load the event template.
- Take test photos.
- Test the print workflow.
- Test SMS, email, QR, or gallery delivery.
- Clean the area and arrange props.
- Finish 15–30 minutes before guests are expected to use it.
Don’t consider the booth ready just because the screen turns on. Take a photo, apply the selected effect or overlay, print it, and send the digital version. That full test catches problems a quick power check won’t.
Where should you set up the booth?
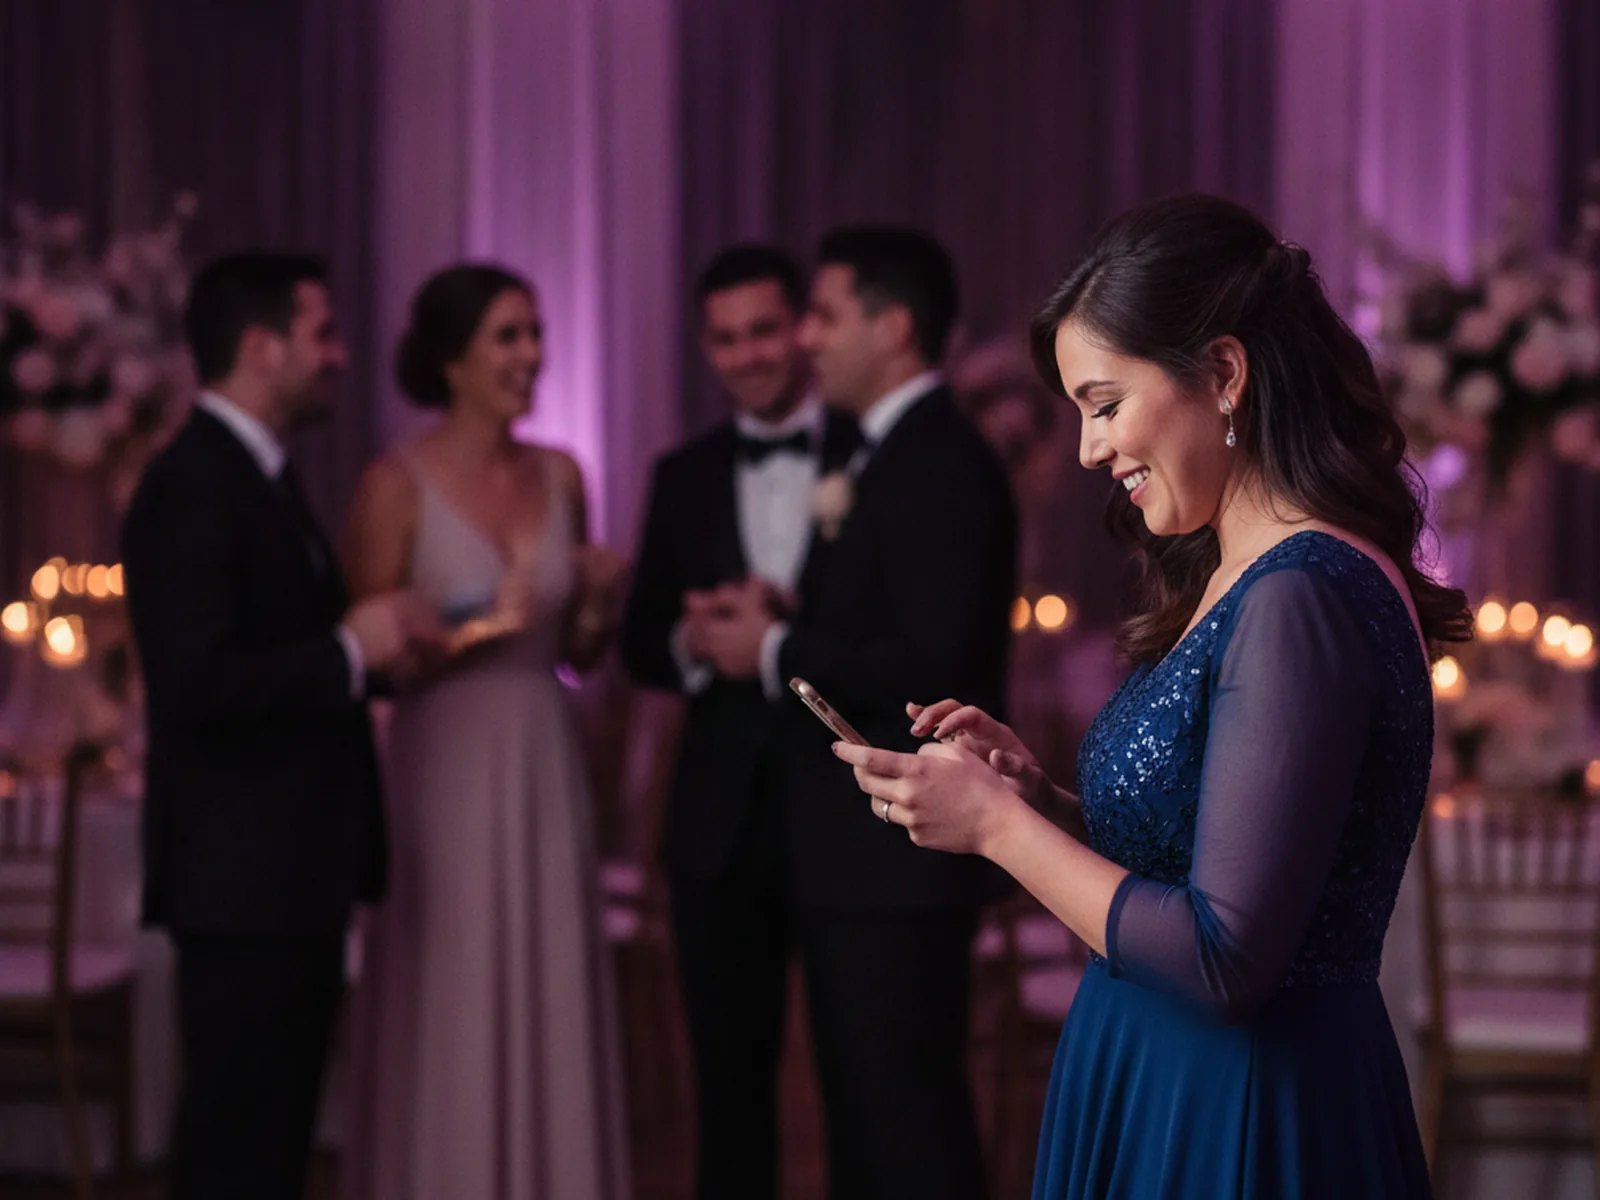
The best location is visible, accessible, and out of the way. Good spots are usually near the cocktail hour, the dance floor, the bar, a main guest walkway, or the entrance to the reception room.
Avoid placing the booth behind a closed door, in a dark corner, directly beside loud speakers, in front of an emergency exit, where the queue blocks the bar or buffet, or where guests have to cross the dance floor to reach it.
Leave room for guests to gather and pose. You’ll need space for the booth, the line, props, the attendant, and groups returning to collect prints. Watch for windows: strong backlight can leave faces too dark and the background overexposed. Where possible, keep the backdrop away from direct window light and rely on your own controlled lighting.
How do you get the lighting right?
Good lighting makes the experience feel premium even when the setup is simple. Use soft, even light across the guest area, whether that’s a ring light, a softbox, or the lighting built into your booth, and test it with real people, not an empty room.
Check for harsh shadows, glasses glare, shiny foreheads, uneven lighting across group shots, dark corners, and guests standing too close or too far from the camera. Take test photos with one person, then with a group. Wedding guests rarely use the booth one at a time, so your lighting should hold up for two friends, a full bridal party, and a family with children.
Keep light stands and cables secure. Tape or route cables where guests won’t trip, and ask the venue before using any adhesive on walls or floors.
How do you design the guest flow?
A booth can be technically perfect and still feel awkward if guests don’t know what to do. Use simple signage or a short verbal explanation: tap the screen, choose the experience, pose when the countdown starts, then collect your print or scan for the digital version.
Keep props organized in small groups rather than one large pile. A tidy setup signals the booth is ready and helps guests make a quick choice. If there’s a line, keep it moving without making guests feel rushed:
“Let’s get the whole table in for one.” “You three go next while the family gets ready.” “Let’s make sure the grandparents get a photo too.”
The attendant should be warm and observant, not loud or overbearing. You’re there to remove friction, not become the entertainment.

How should you handle children and large groups?
Weddings bring guests of every age, and children can change the flow quickly. For younger children: keep props away from walkways, watch for loose cables, avoid placing fragile equipment at reachable height, let a parent help with posing, and never pressure a child who doesn’t want to participate.
For large groups, take a moment to arrange people before starting the countdown. Check that faces aren’t hidden and taller guests aren’t blocking shorter ones.
If you offer AI photo experiences, test them with group shots before the wedding. Pictor’s GroupSense™ workflow is designed to preserve individual likeness across group transformations, but you should still choose effects that suit the guest mix you expect. A flattering, simple effect usually beats a complicated style that distracts from the people in the photo.
How do you make prints feel intentional?
If prints are part of the package, treat them as part of the experience, not an afterthought. Before guests arrive: load the correct paper and media, confirm the print design, run multiple test prints, check color and alignment, confirm the printer has enough supplies, keep spare media accessible, and place the printer where guests can find it easily.
Decide in advance how prints will be handled. Some operators provide one print per session; others provide one per guest or reserve a copy for the couple. Tell guests what to expect: a simple line like “Your print will be ready here, and you can also scan for the digital copy” prevents confusion.
Digital sharing should be just as clear. Pictor supports branded delivery through SMS, email, QR codes, and gallery links, depending on your event setup. Test the exact workflow you plan to use rather than assuming it behaves the same at every venue. If the venue Wi-Fi is unreliable, have a backup connection or a workflow that queues captures locally and sends them once the connection returns.
When should you pause or close the booth?
The booth doesn’t need to run continuously. Pause it during dinner service, speeches, important announcements, first dances, formal photographs, or any moment the planner asks guests to focus elsewhere. A short pause also gives you a natural window to reload supplies, tidy props, or fix a technical issue without a visible disruption.
Plan to close the booth about 20–30 minutes before the event ends, unless the couple has requested otherwise. That gives you time to invite guests for a final photo, finish outstanding prints, confirm digital files are saved, shut down equipment carefully, pack up, and leave the area clean. Avoid an obvious teardown while guests are still celebrating; keep the space looking finished until the final moments.
How quickly should you deliver the gallery?
Before leaving, confirm the event files are complete: the gallery contains the expected captures, prints and digital files match the event, AI or video processing has completed or is queued, branding is correct, and you have a backup of the files.
Deliver the couple’s gallery within the timeframe promised in your agreement. If you say two days, don’t leave them wondering for a week. Your delivery message can include the gallery link, download instructions, a note about social sharing, a few highlight images, and a reminder that guests may still receive delayed files if the venue connection was weak.
When should you ask for a review?
The best time to request a review is after you’ve delivered the gallery and the couple has had a chance to enjoy it. Keep the request personal and short:
Thank you again for having us at your wedding. We loved seeing your guests enjoy the booth. Your gallery is ready here: [link]. If you were happy with the experience, we’d really appreciate a short review here: [review link].
Ask what you can improve: was setup completed on time, did guests understand how to use the booth, were prints and digital delivery reliable, was the attendant helpful, and was the booth placed well. Over time, these answers refine your setup timing, guest flow, placement, and package design. Part 15 of this series, How to Collect Photo Booth Reviews and Referrals Coming Nov 24, covers the full follow-up system.
Which Pictor plan fits a wedding booth?
Most wedding operators run comfortably on Basic ($49/mo) for branded photo, GIF, and print delivery. Move to Pro ($99/mo) when you want the Custom Prompt Editor or DSLR tethering for portrait-quality captures. See what’s included on each tier on the pricing page.
Run weddings most weekends? Save your best wedding event as a preset and start every new wedding from it. Event presets arrived in Pictor 2.0.1.
Ready to build your next wedding event template? Start free on Pictor →
The goal: make the booth disappear into the celebration
The best wedding booth operators are prepared without being intrusive. They coordinate with the venue, arrive early, test everything, guide guests naturally, and keep the experience moving. When it works, guests don’t think about the software, printer, cables, or lighting. They simply enjoy the wedding together and leave with something worth sharing.
Not legal or financial advice. Before running wedding events, consult your insurance provider about appropriate coverage and a qualified lawyer about contracts, liability, privacy, image usage, payment terms, and cancellation policies.
FAQ
How early should I arrive to set up a wedding photo booth?
Plan for 60–90 minutes before the booth’s start time, more if your setup is complex or the load-in is long. That leaves time to test the complete guest journey, not just power on the equipment.
Where’s the best place to put a photo booth at a wedding reception?
Near the cocktail hour, the dance floor, the bar, or a main guest walkway. Avoid dark corners, spots beside loud speakers, emergency exits, and locations where the line would block the bar or buffet.
Should a wedding photo booth run the entire reception?
No. Pause during dinner, speeches, first dances, and formal photos, and plan to close about 20–30 minutes before the event ends so you can finish prints and pack up without an obvious teardown.
How fast should I deliver the wedding gallery?
Within the timeframe you promised in your agreement. If you commit to two days, don’t leave the couple waiting a week. Confirm the gallery is complete and backed up before you leave the venue.
Do I need a DSLR to run a wedding photo booth?
No. A tablet booth can run a professional wedding event. A DSLR adds more control over image quality, and on Pictor, DSLR tethering is included with Pro ($99/mo) and above.
When should I ask the couple for a review?
After you’ve delivered the gallery and they’ve had a chance to enjoy it, usually a couple of days later. Keep the ask short, personal, and specific to their event.
Next in the series: How to Run a Photo Booth at a Corporate Event.
Beginner series · Stage 3 of 5 · Part 12 of 22
Start here: How to Start a Photo Booth Business
Previous: The First Photo Booth Event Checklist
Next: How to Run a Photo Booth at a Corporate Event